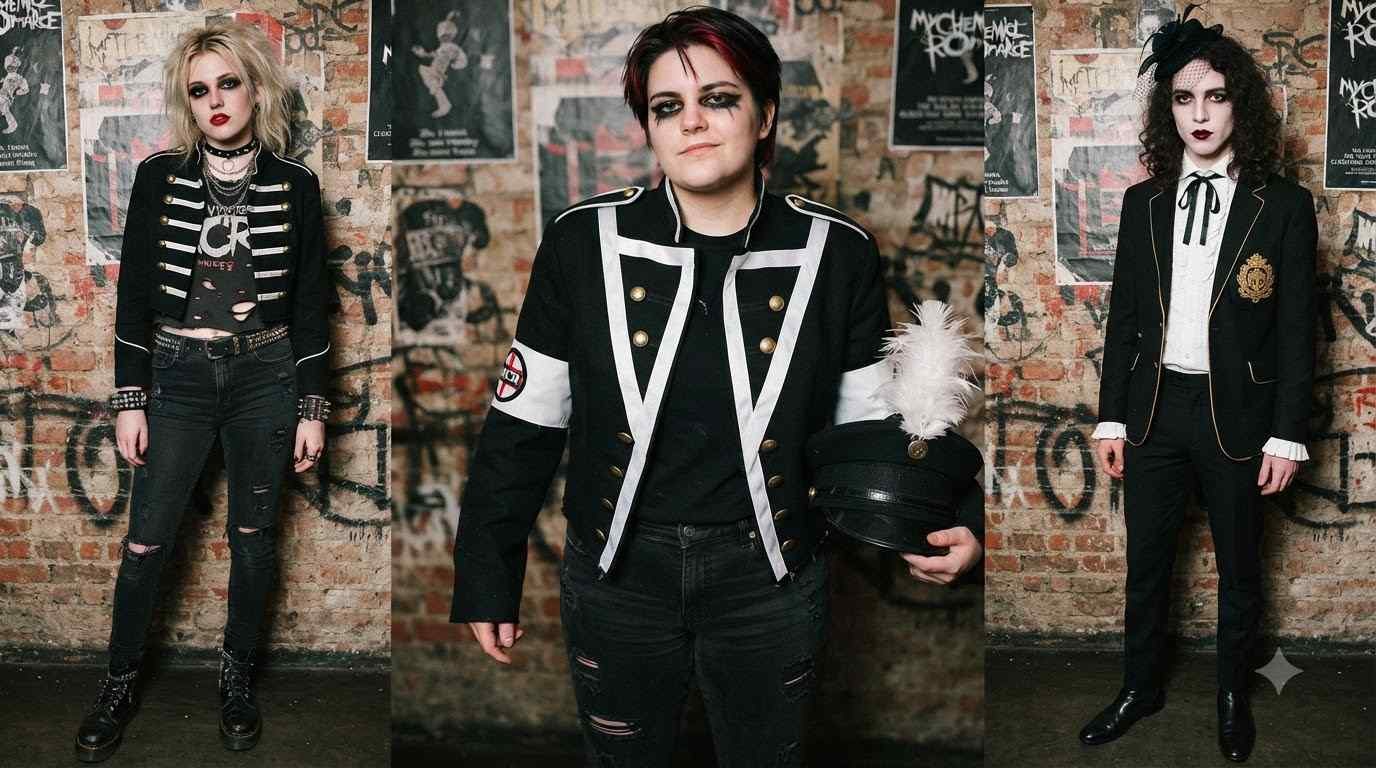
I made my first Black Parade jacket out of a $4 thrift store blazer and a broken glue gun. It looked rough.
It also got me stopped three times at a concert by people asking where I bought it.
That’s the moment I realized nobody needs a $300 replica to nail this look.
If you’ve been pinning MCR-inspired outfits for months and still haven’t pulled the trigger, this one’s for you.
I’m walking through exactly how I build the jacket, what to buy versus what to skip, and how to round out the whole outfit without draining your bank account.
Why the Black Parade look still works
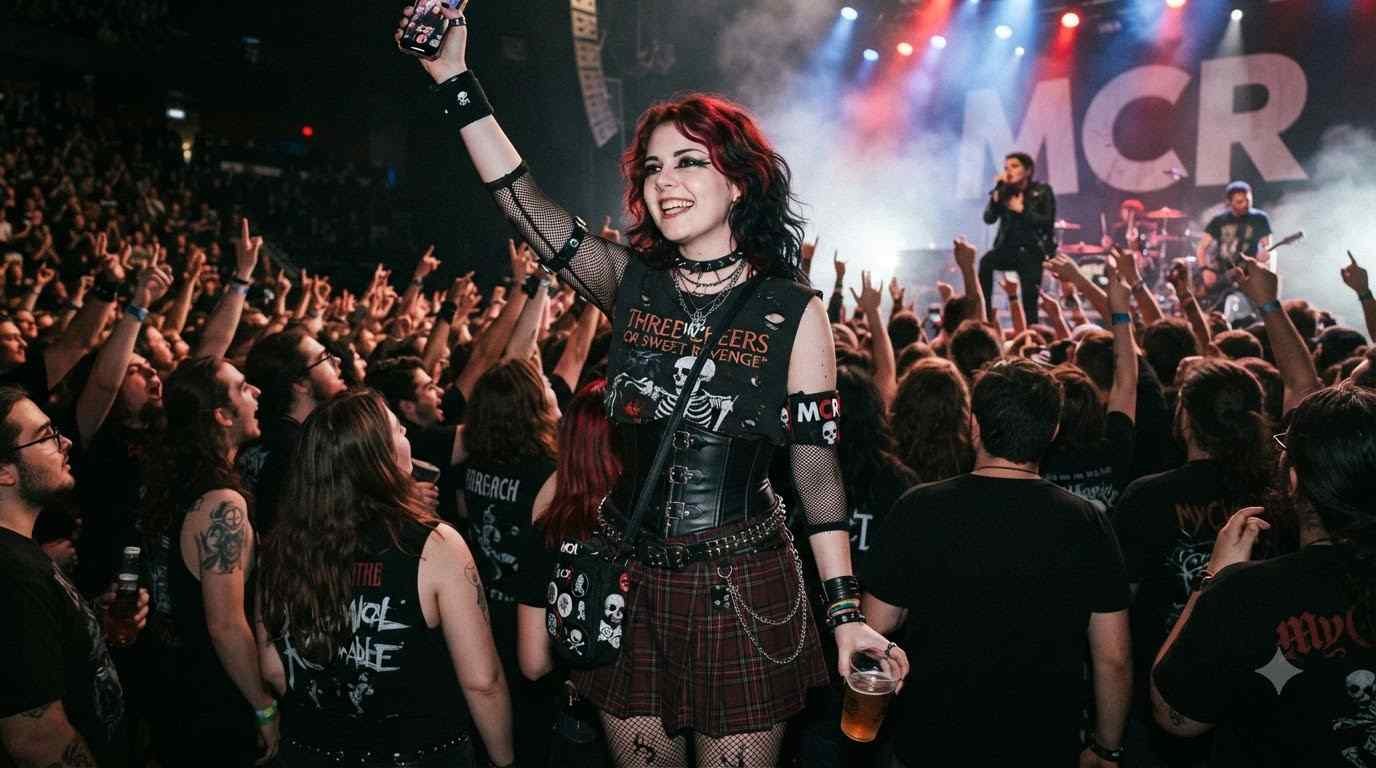
My Chemical Romance’s Black Parade era pulled from military marching bands, funeral processions, and old-school rock theatrics.
That combo is why the aesthetic hasn’t aged out.
Structured jackets, brass buttons, a little gothic drama. It reads as costume and as everyday fashion at the same time, which is honestly rare.
I think that’s the appeal for Pinterest boards too.
The look photographs well. Sharp lines, high contrast, a jacket that does 80% of the visual work on its own.
Ever notice how the best outfit pins are the ones where one piece carries the whole image? This is that piece.
Finding your base jacket
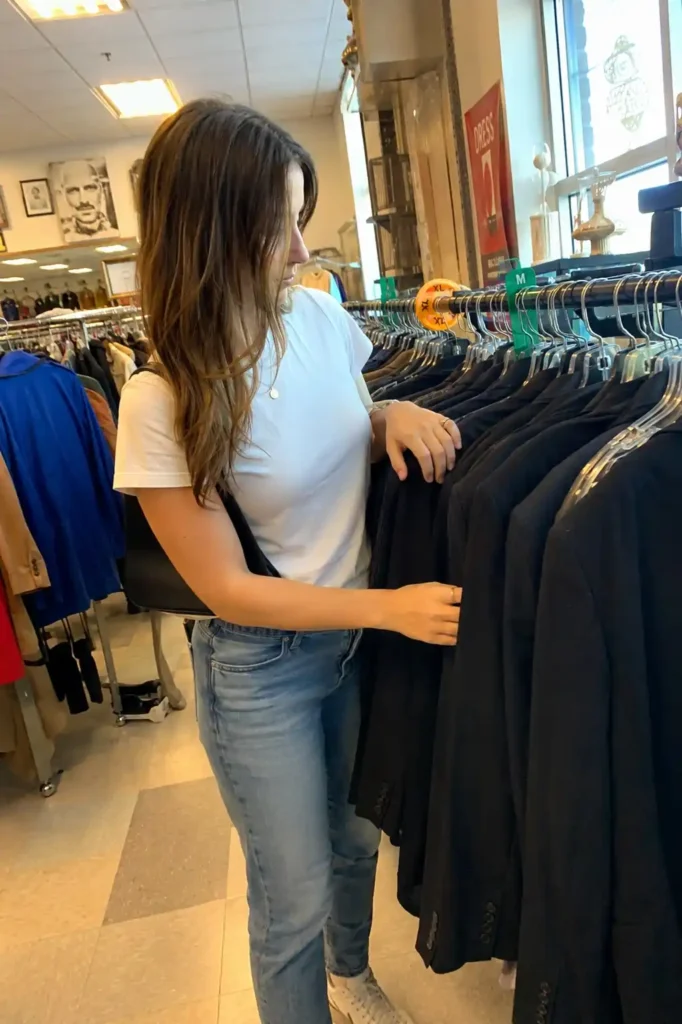
Skip the costume shops. Their versions run $60 to $150 and still look like polyester.
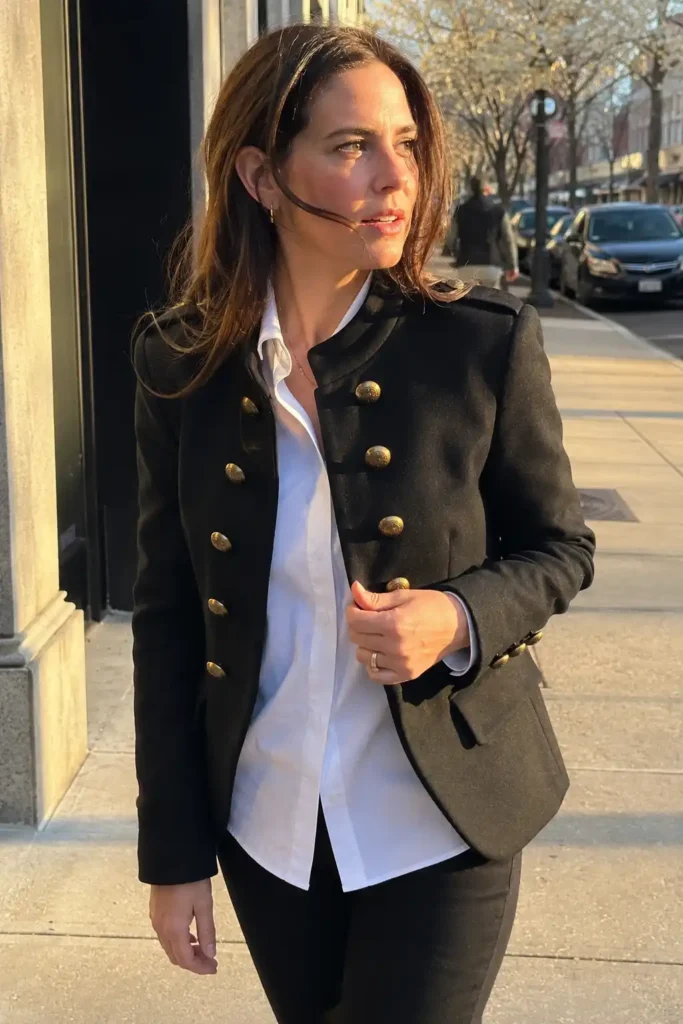
You want a real structured jacket as your starting point, and thrift stores are stacked with them if you know what to search for.
Look for these terms specifically:
- Military surplus or vintage band jacket
- Marching band uniform (school surplus stores sell these for almost nothing)
- Structured wool or wool-blend blazer with a stiff collar
- Anything labeled “drum major” or “ceremonial”
Shop off-season if you can. Jackets get dumped at thrift stores in spring and summer when people clean out closets, and that’s when prices bottom out.
A quick note on sizing: buy slightly big. You’ll be adding trim, epaulettes, and possibly a lining, and a snug jacket won’t leave room for any of that.
I learned this the hard way with a jacket I couldn’t zip after adding braid trim to the cuffs.
Budget jacket sourcing at a glance
| Source | Typical price | What to expect |
|---|---|---|
| Thrift store (Goodwill, Savers) | $5 to $15 | Hit or miss, check seams |
| School surplus / band uniform sales | $10 to $25 | Great structure, often already has braid trim |
| Online resale (eBay, Depop) | $20 to $40 | More selection, search “military style jacket” |
| Costume retailer | $60 to $150 | Skip this unless nothing else works |
Building the details: buttons, braid, and trim
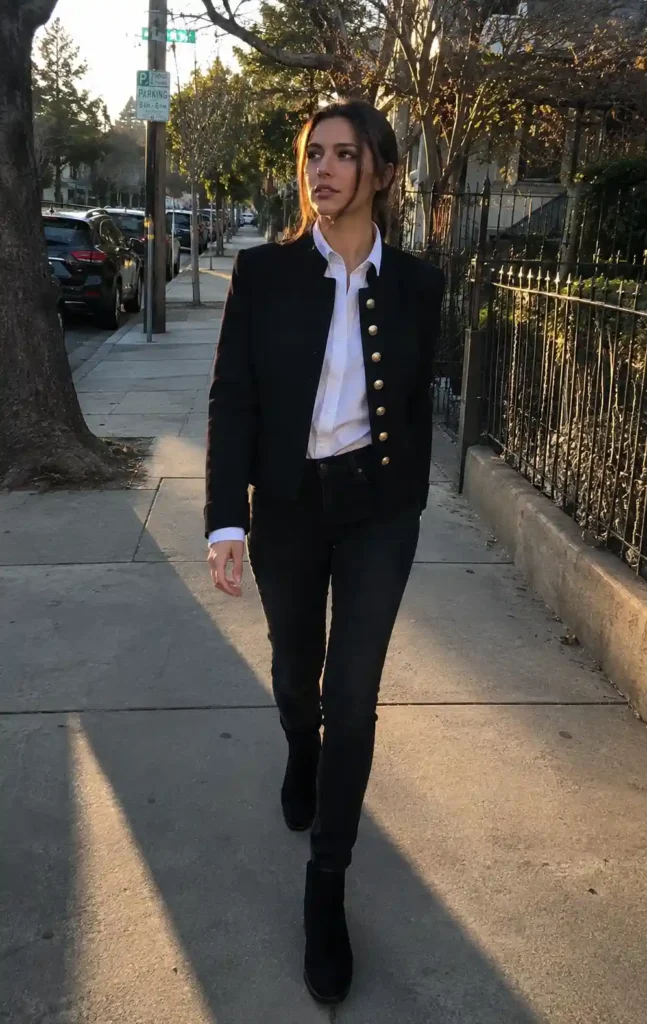
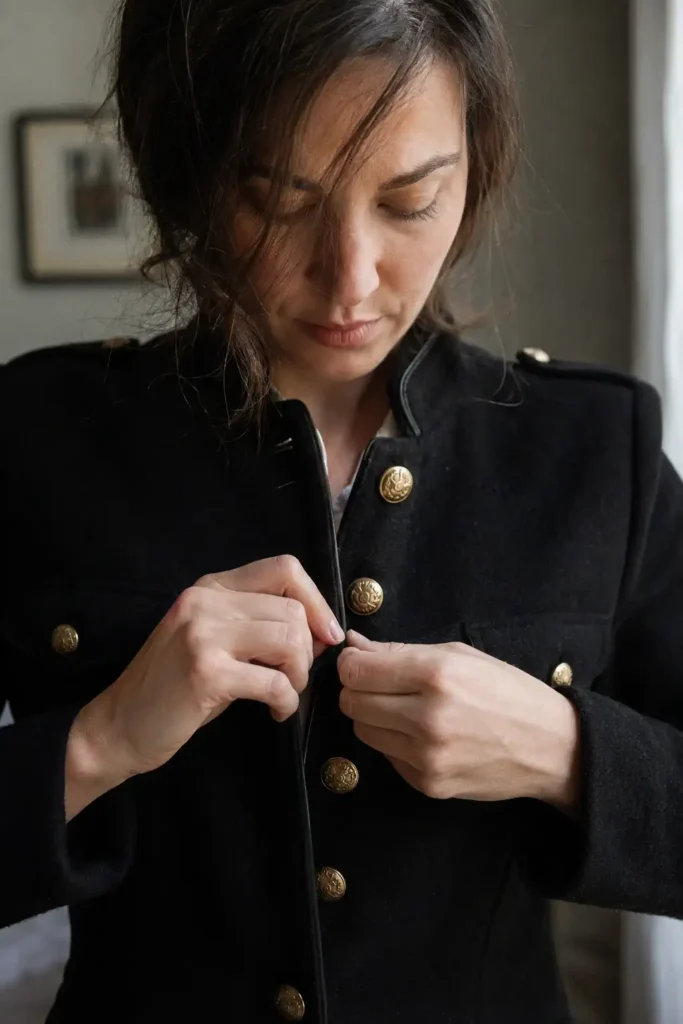
This is where the jacket actually becomes a Black Parade jacket. The base garment gets you 30% there. Details finish the job.
Buttons matter more than people think. Swap plain buttons for gold or brass military-style ones.
A pack of 10 to 20 runs about $6 to $10 online, and the upgrade is dramatic. IMO this is the single highest-impact, lowest-effort change you can make.
Braid trim goes on the collar, cuffs, and sometimes down the front placket.
Gold or black cord trim costs around $1 to $3 per yard, and most jackets only need 3 to 5 yards total.
Hand-stitch it if you want it permanent, or use fabric glue if you’re short on time (I’ve done both, and honestly, the glue held up fine through two full Halloweens).
Epaulettes are optional but they add serious drama on shoulders. You can buy pre-made ones for $8 to $15 a pair, or make your own from felt and extra trim scraps.
For distressing, a step-by-step breakdown from a costume designer on weathering and aging fabric covers sanding, tea staining, and controlled fading, and it’s the same method I use on collars and cuffs to make a brand-new jacket look lived-in. Sandpaper on the elbows and collar edges, a light tea-stain wash if the fabric is too bright, done.Don’t skip testing your distressing technique on a hidden seam first. I didn’t do this once and put a sandpaper hole straight through a sleeve I couldn’t fix.
The pants, shirt, and accessories
The jacket carries the outfit, but the rest of the look needs to support it, not compete with it.
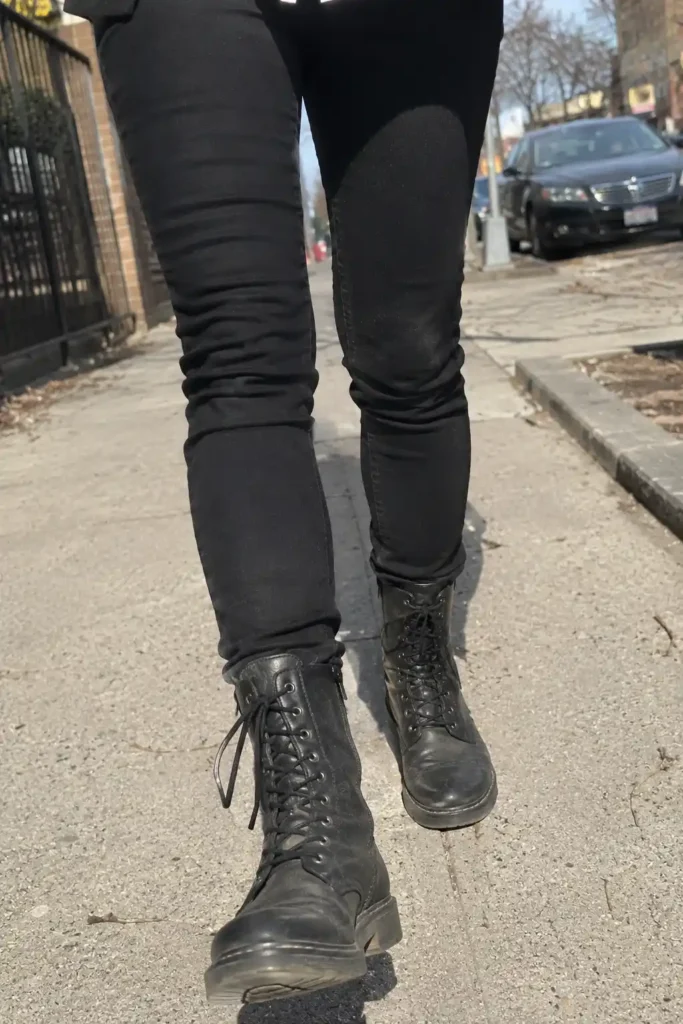
Bottoms: Black skinny jeans or straight-leg trousers work. Avoid anything with heavy distressing or rips of its own; the jacket should be the busiest piece in the outfit.
Shirt underneath: A plain black button-up or a white dress shirt both work depending on how formal you want the contrast.
White reads more “funeral procession,” black reads more “stealth goth.”
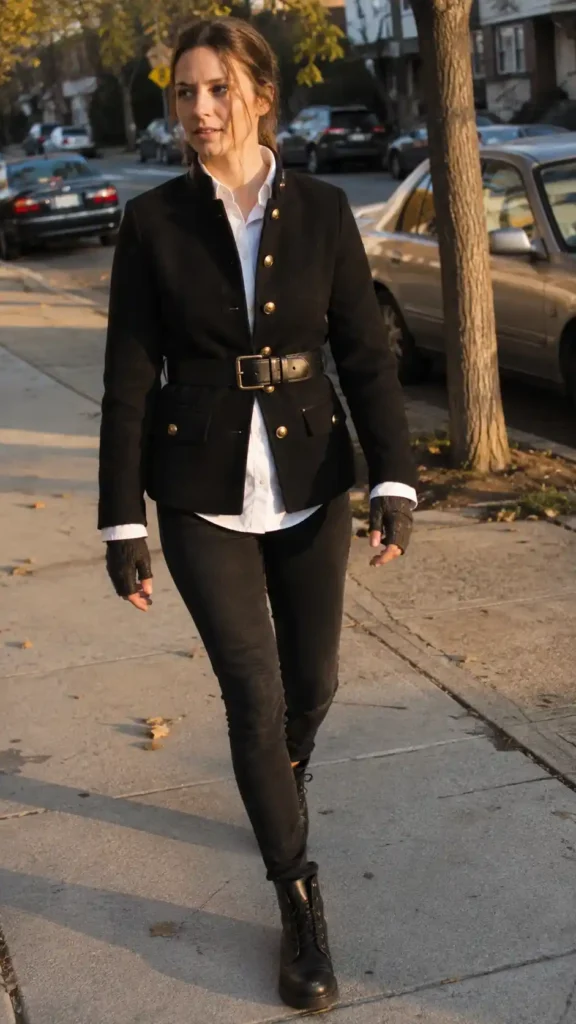
Belts and gloves: A wide black belt with a simple buckle finishes the military silhouette.
Fingerless gloves are a classic MCR-era add-on and cost next to nothing at any accessory shop.
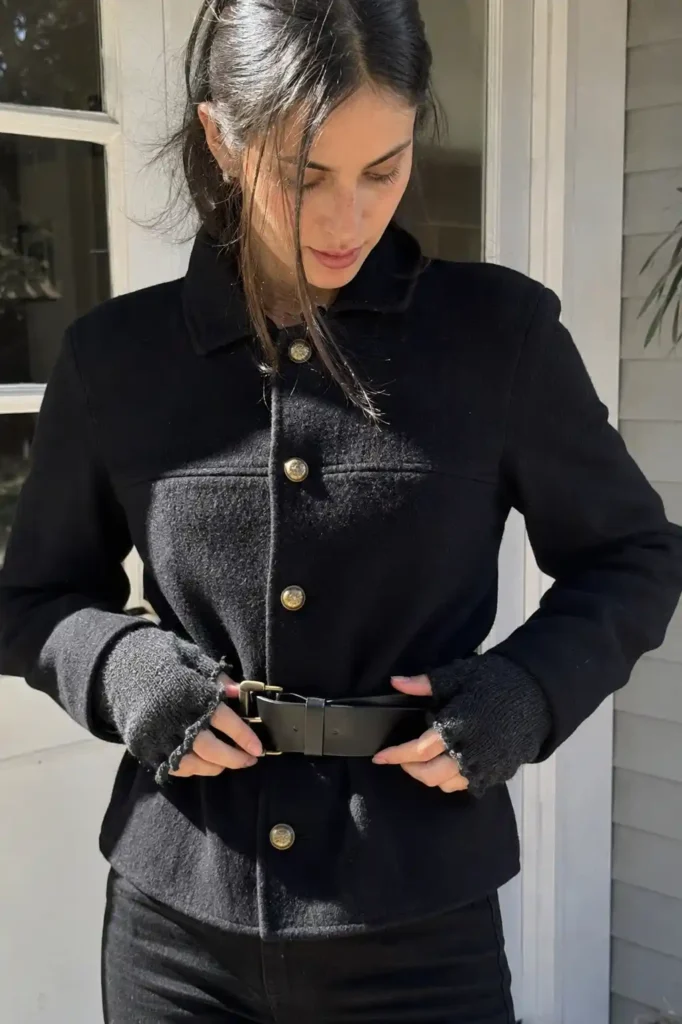
Boots: Combat boots or Chelsea boots.
This isn’t negotiable in my opinion, sneakers just don’t read right with a structured jacket like this.
Here’s a slightly random thought, but stick with me: check your local Facebook Marketplace or Buy Nothing group before you buy any of this new.
I’ve picked up combat boots for free twice just from people cleaning out closets, and Marketplace listings for “goth” or “punk” accessories are wildly underpriced because most sellers don’t know what they’re sitting on.
Makeup and hair, if you’re going all in
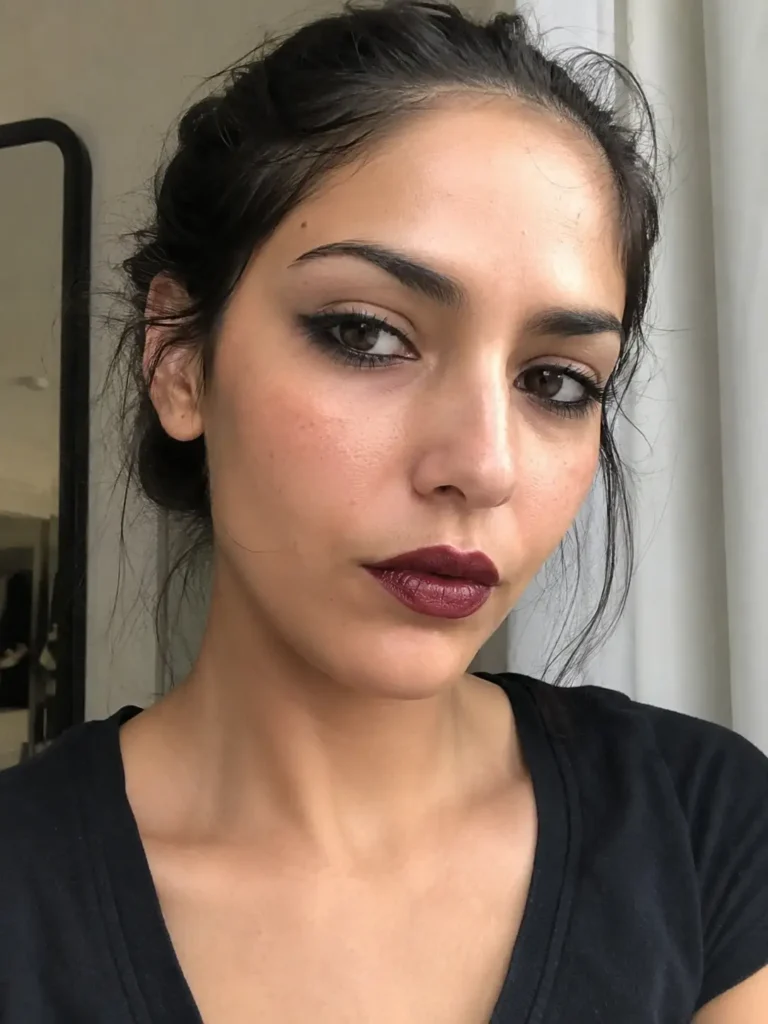
You don’t need this for a daily-wear version of the outfit, but if you’re building the full look for a show, a photoshoot, or a themed event, a few small touches go far.
Pale or matte foundation, dark eyeliner (heavier than your everyday look), and a deep red or black lip pull the whole thing together.
Keep hair either slicked back or a bit disheveled.
Both read as intentional with this aesthetic; a half-done middle ground is the only version that looks off.
Cost breakdown: the full outfit
I priced out an actual build I did last year, thrifted jacket included:
- Jacket (thrifted): $8
- Trim and buttons: $14
- Epaulettes: $10
- Black jeans (already owned): $0
- Belt (thrifted): $3
- Boots (already owned): $0
- Fingerless gloves: $5
Total: $40. Compare that to a pre-made replica jacket alone running $80 to $150, and the math isn’t close.
Common mistakes to avoid
A few things I got wrong on my first attempt, so you don’t have to repeat them:
- Buying a jacket that’s already black instead of dyeing a lighter one. Dye is cheap and gives you way more starting options.
- Over-distressing before adding trim. Do the trim first, distress after, or you’ll rough up your new details by accident.
- Skipping a test wash. Some thrifted wool jackets shrink or warp in the wash. Spot clean instead of full-washing anything vintage.
- Rushing the buttons. Mismatched or clearly plastic buttons are the fastest way to make the whole jacket read as cheap, even if everything else is done well.
FAQs
Can I make this jacket without sewing? Yes. Fabric glue handles trim, patches, and even epaulettes well enough for regular wear.
Sewing lasts longer, but glue is a completely valid shortcut if you’re not confident with a needle.
Where’s the cheapest place to find a base jacket?
Thrift stores beat everything else, especially ones near colleges or in smaller towns where inventory turns over fast and prices stay low.
School band uniform sales are a close second if you can find one nearby.
How long does the full build take? Budget a weekend. Sourcing the jacket takes the longest if you’re thrift-hunting rather than buying online.
Once you have it, trim and button work usually takes 3 to 5 hours total.
Final thought
This outfit was never about spending big. It’s about knowing which three or four details actually sell the look and putting your money there instead of everywhere.
Wow, I still can’t believe my $8 jacket gets more compliments than jackets people paid ten times as much for.
Pin this one, save your thrift store search terms, and go dig through a few racks this weekend. What’s the wildest thing you’ve found thrifting for a costume build? I’d genuinely love to know.
