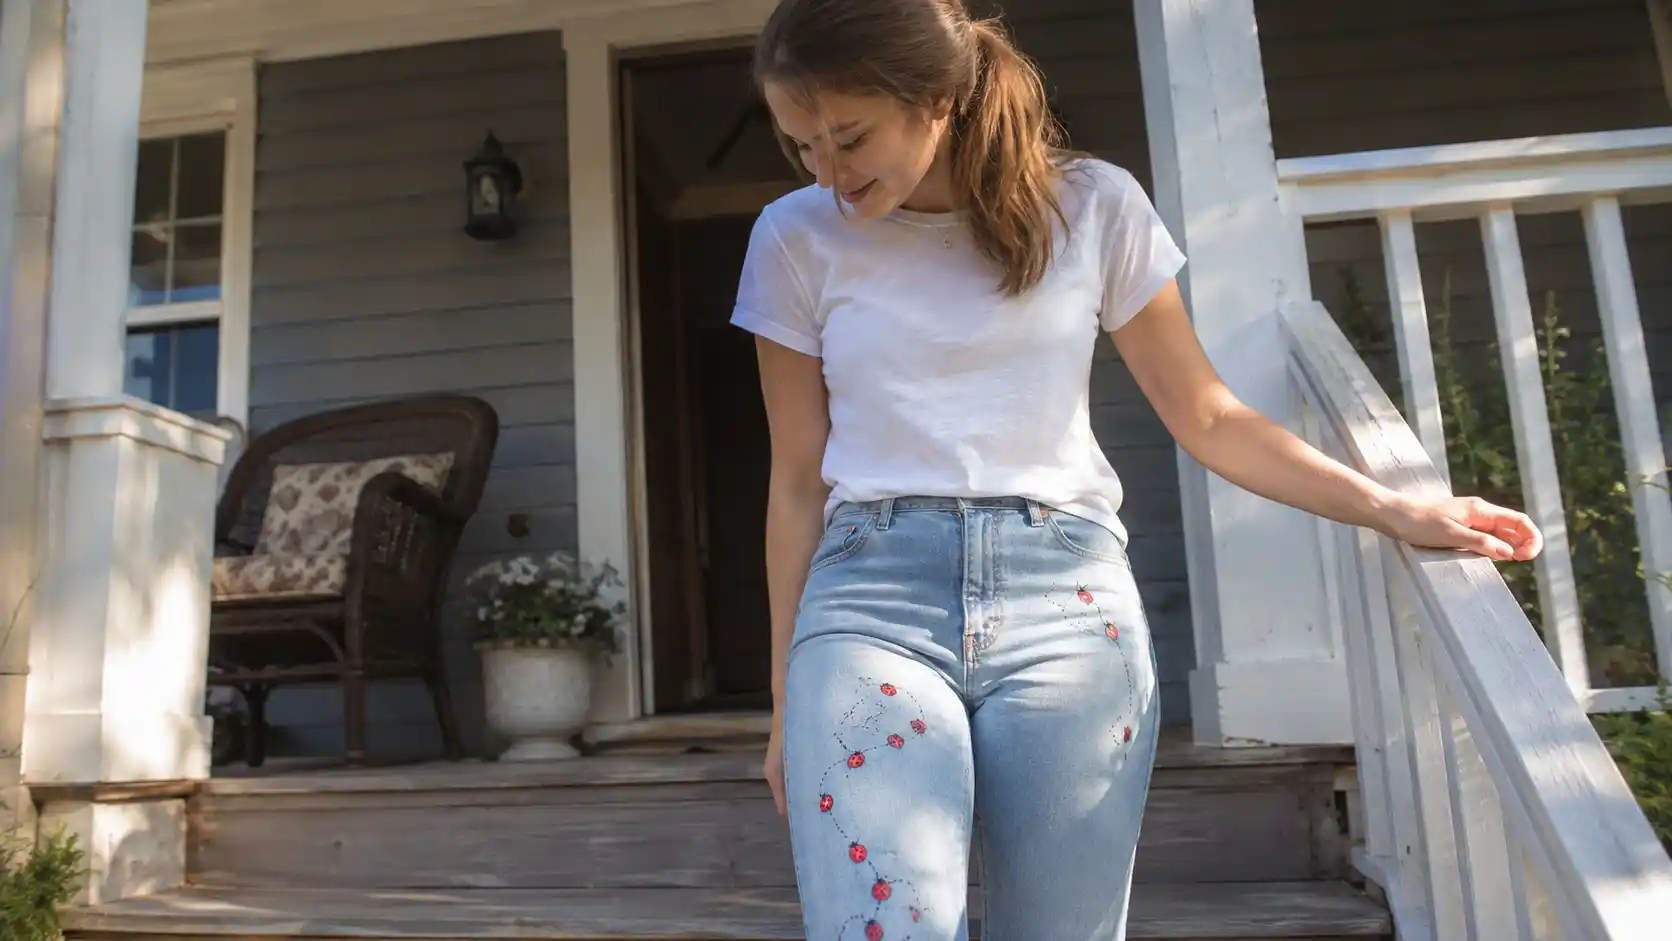
My senior jeans still live in my closet. Faded denim, a little paint-cracked at the knee, covered in doodles from a year I refuse to let go of.
If you’re a senior right now trying to figure out what to paint on yours, ladybugs are one of the best picks you can make.
Small, round, easy to repeat across a whole leg, and they read as cute without trying too hard.
I painted my first ladybug on a jean jacket at 17, using leftover craft paint from my mom’s junk drawer.
It cracked within a month. I’ve since redone the same design on three different pairs of jeans, and I finally have a process that actually holds up through washes, gym class, and graduation photos. Here’s exactly how I do it now.
Why ladybugs work so well on senior jeans
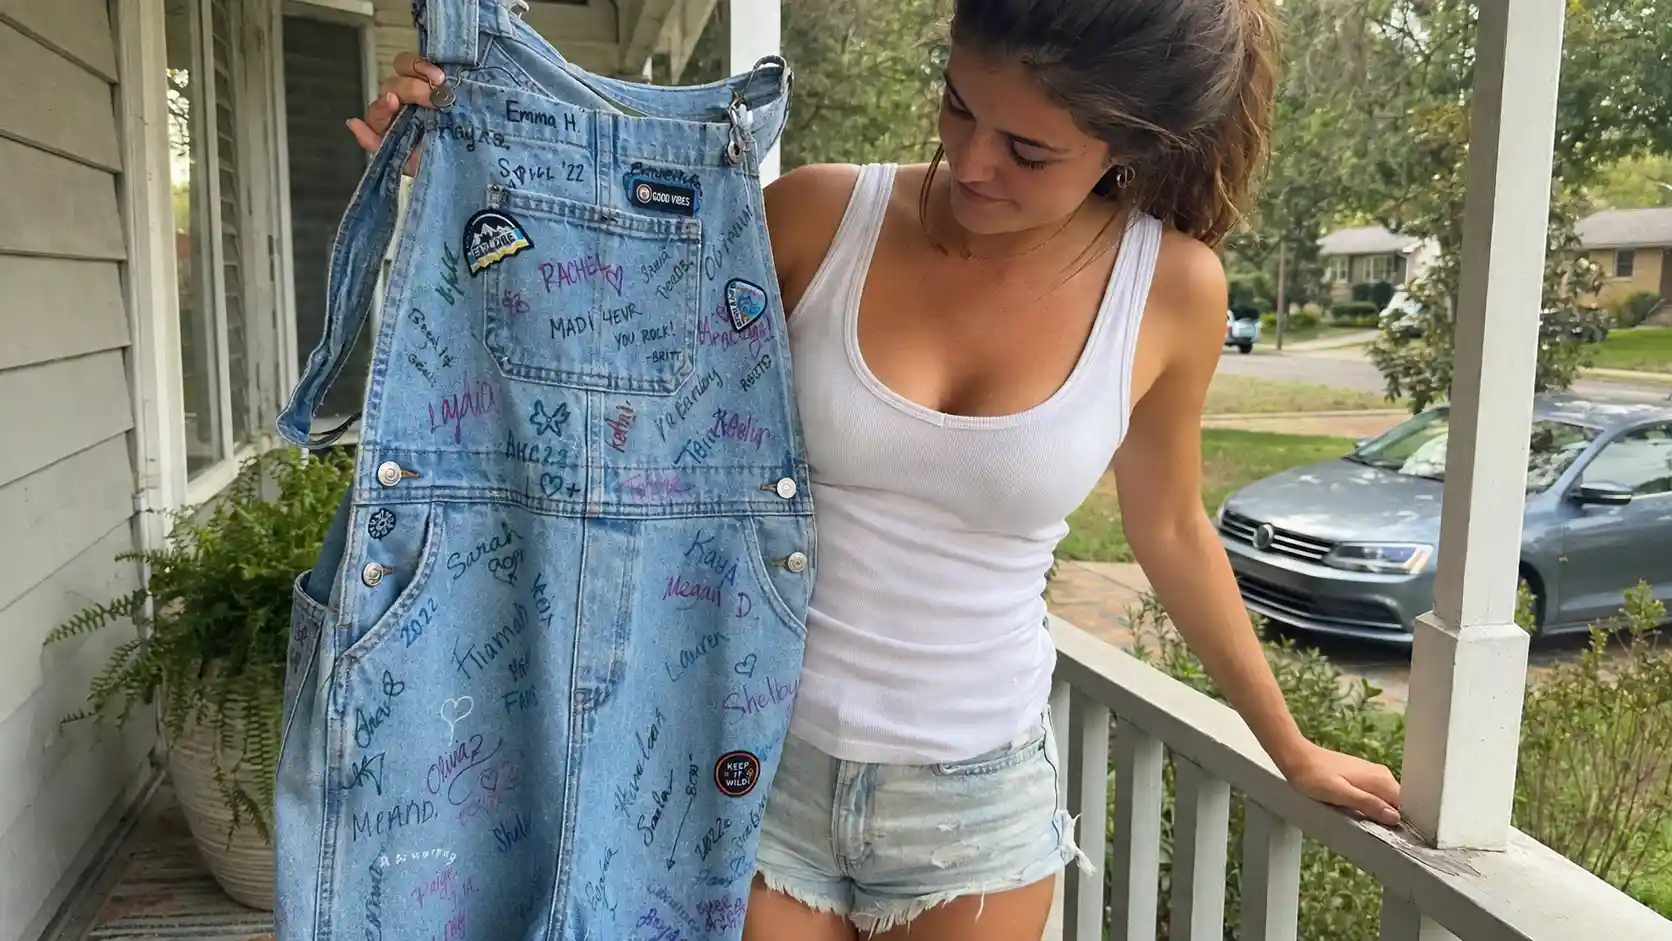
Senior jeans are basically a wearable yearbook. Everyone signs them, draws on them, adds inside jokes nobody outside your friend group will ever understand.
A ladybug design fits into that chaos without looking messy.
Ladybugs are:
- Simple to draw, even if you’ve never painted anything in your life
- Small enough to scatter across pockets, seams, or a back pocket cluster
- Bold in color, so they show up in photos from far away
- Flexible in style, from cartoonish to realistic to abstract polka-dot clusters
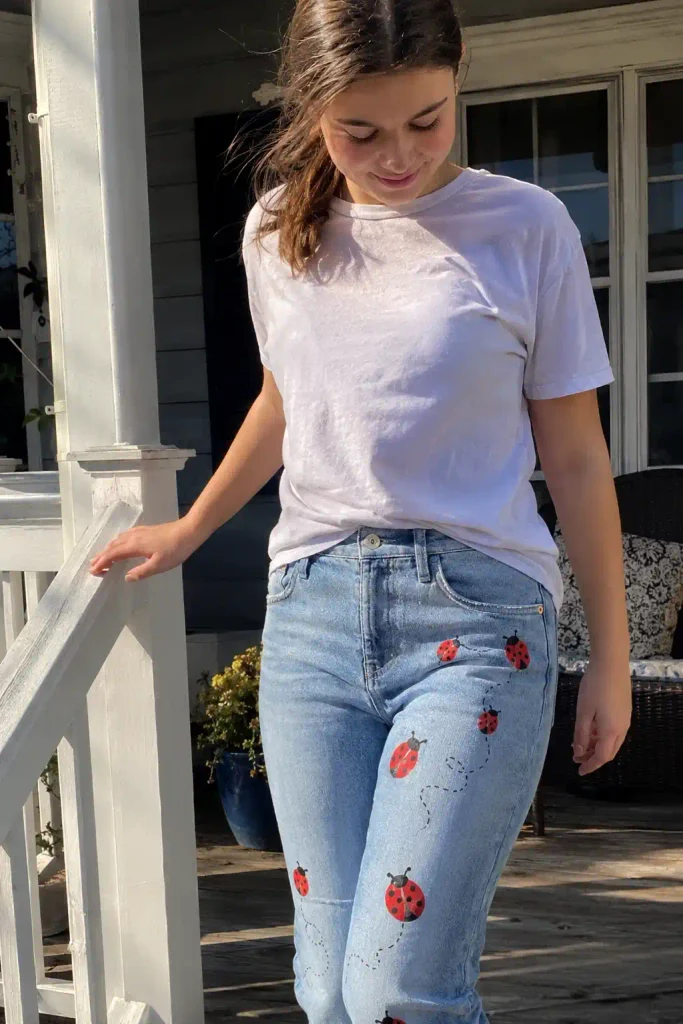
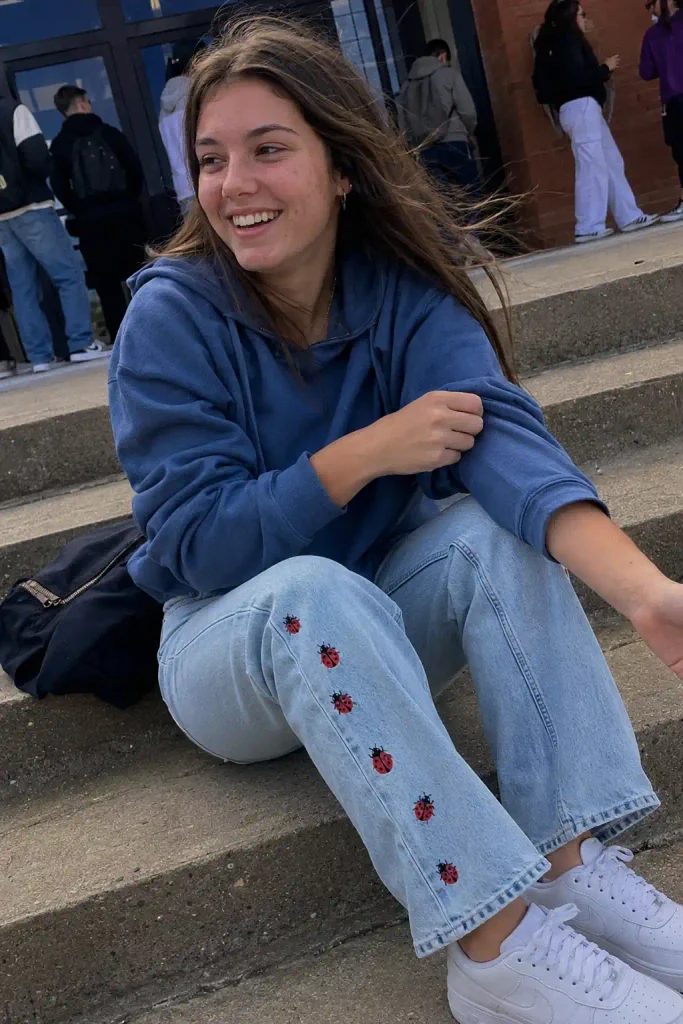
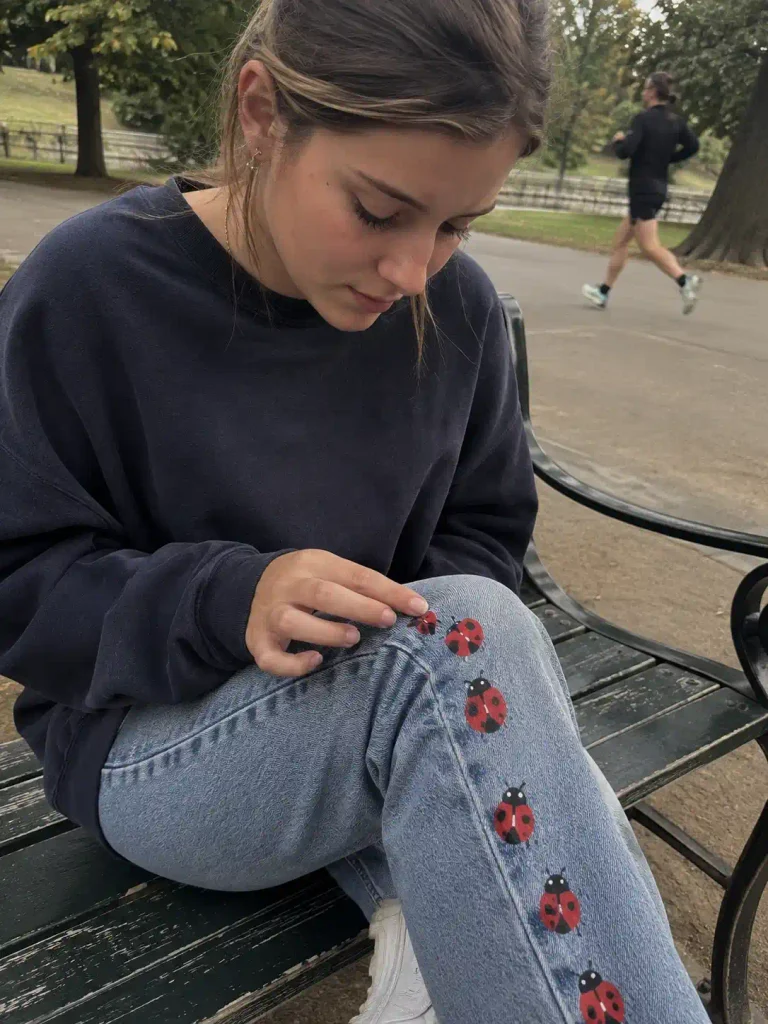
I’ve seen people paint one giant ladybug crawling up a thigh and I’ve seen people do fifteen tiny ones trailing down a seam like they’re marching somewhere.
Both look great. There’s no wrong way to scatter a bug.
What you’ll actually need
Skip the dollar store paint. I learned that lesson the hard way, and I’m saving you the trouble.
Here’s your shopping list:
- Red, black, and white acrylic paint (fabric-grade or regular acrylic mixed with fabric medium)
- A fine detail brush (size 0 or 1) and a small round brush (size 4 or 6)
- Fabric medium, unless your paint is already formulated for textiles
- Painter’s tape or a pencil for sketching guides
- Cardboard or wax paper to slide inside the jean leg
- A heat source: iron, or a heat gun if you have one lying around
Step 1: prep the jeans
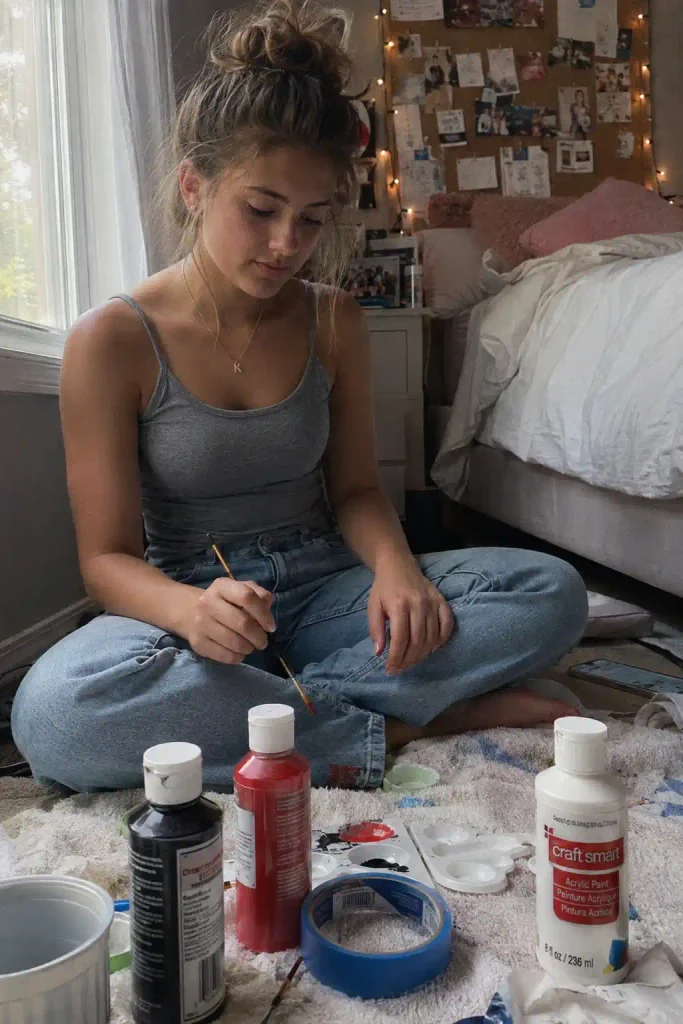
Wash your jeans once before you paint, then let them dry completely. Painting on unwashed denim traps sizing and oils in the fibers, and your paint won’t stick right.
IMO this is the step most people skip, and it’s exactly why their designs peel after two weeks.
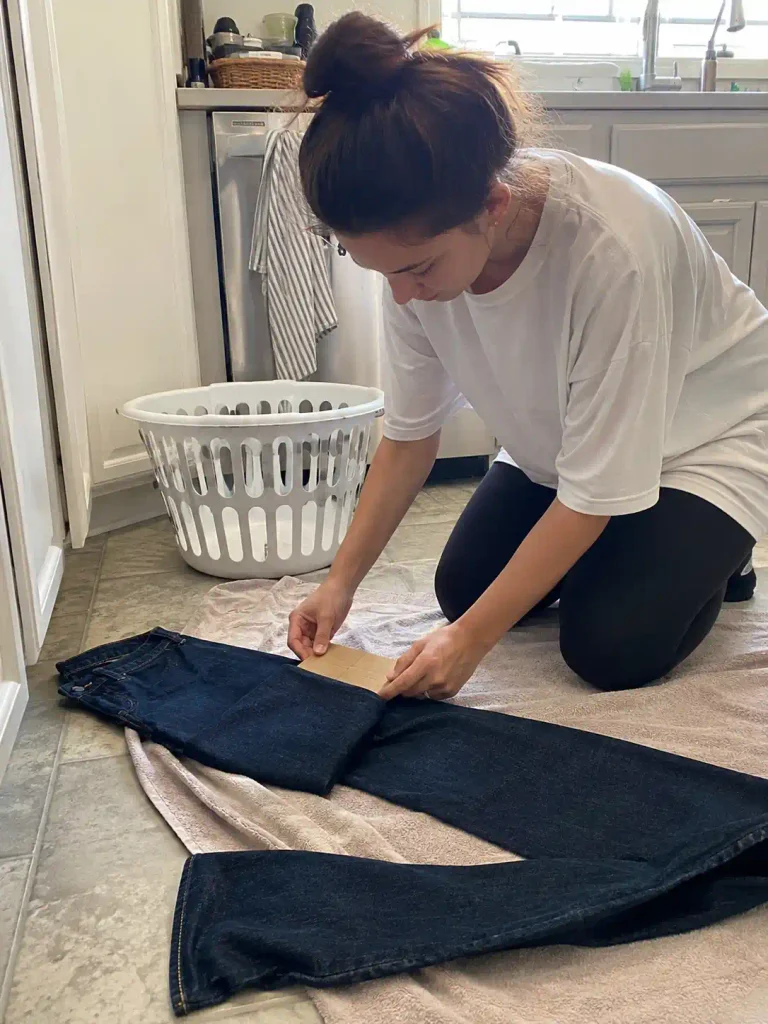
Slide cardboard or wax paper inside the pant leg wherever you’re painting. This stops paint from bleeding through to the back layer of fabric.
Skip this and you’ll end up with a ladybug ghost print on the inside of your jeans, which nobody asked for.
Step 2: sketch your ladybug (lightly)
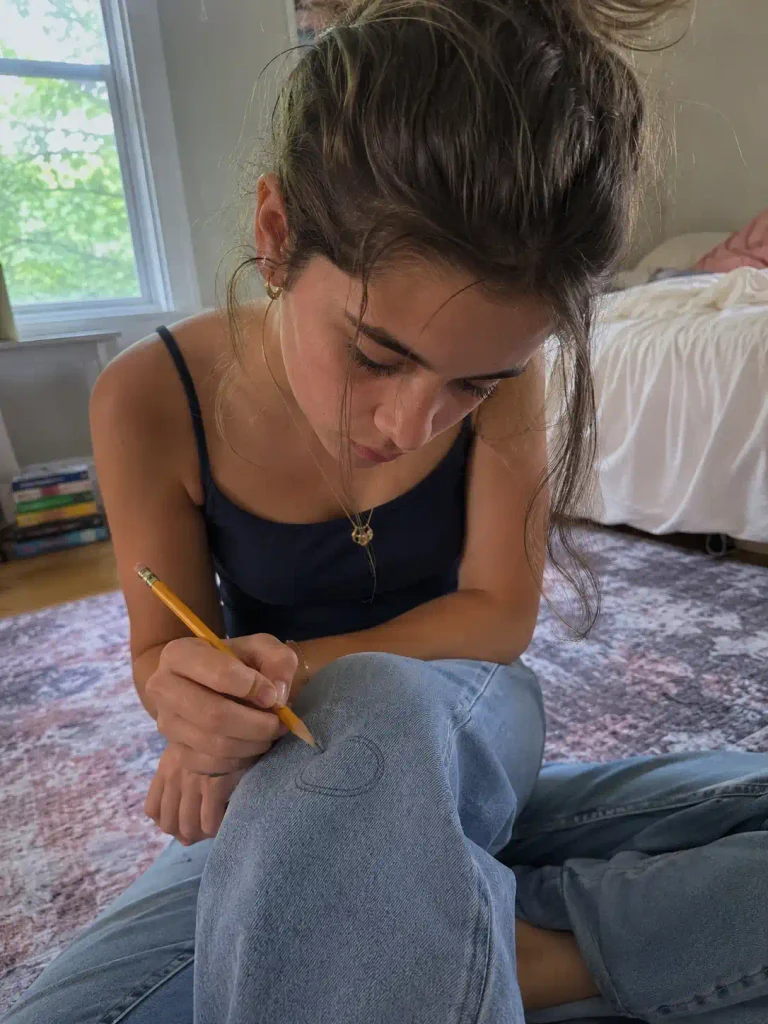
Grab a pencil and lightly sketch an oval or slightly rounded triangle shape where you want your ladybug’s body.
Don’t press hard. You just need a guide, not a tattoo.
A few placement ideas that photograph well:
- One large ladybug near the knee, with two or three small ones trailing off it
- A cluster of five or six tiny ladybugs climbing up a back pocket
- A single ladybug perched on a painted leaf or flower stem
Ever notice how the best jean art has some kind of visual “path”? Your eye follows something, even if it’s just bugs marching toward a hem.
Keep that in mind when you’re placing more than one ladybug.
Step 3: paint the base body
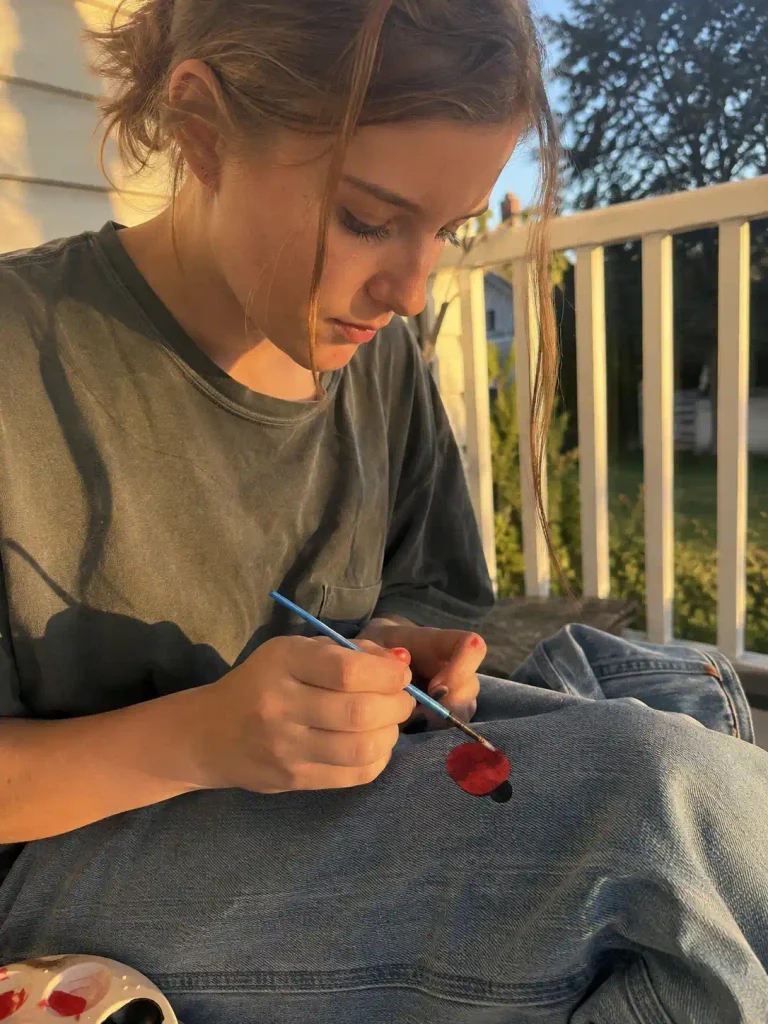
Start with red. Fill in the rounded body shape, leaving a small gap at the top for the head.
Two thin coats beat one thick coat every time. Thick paint on denim tends to crack once the jeans flex, and cracked paint is not the vibe.
Let the first coat dry for about 20 minutes before adding the second.
I know waiting is annoying when you’re excited about a project, but rushing this step is exactly how you end up with streaky, uneven color.
Step 4: add the head and center line
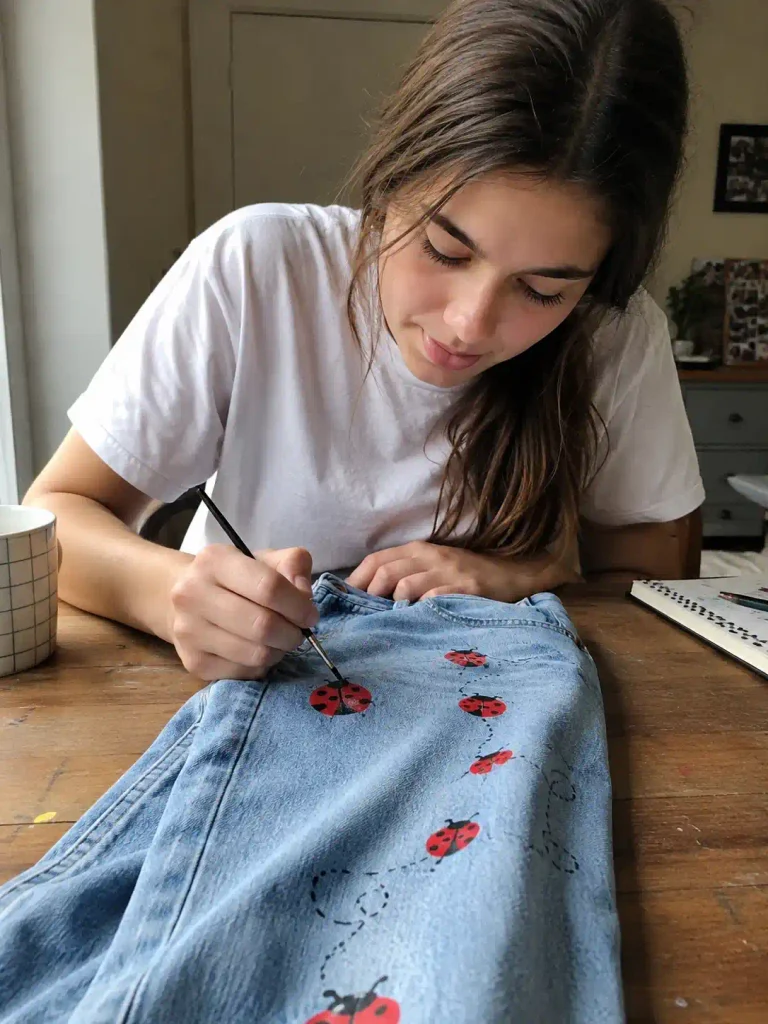
Paint a small black semicircle at the top of the body for the head. Then, using your fine detail brush, paint a thin black line straight down the center of the red body.
This line separates the two wing shells and instantly makes the shape read as “ladybug” instead of “random red blob.”
This is the step where patience actually pays off. A shaky line still looks fine on a cartoon-style ladybug, but a crooked line ruins a more realistic one.
Step 5: dot the spots
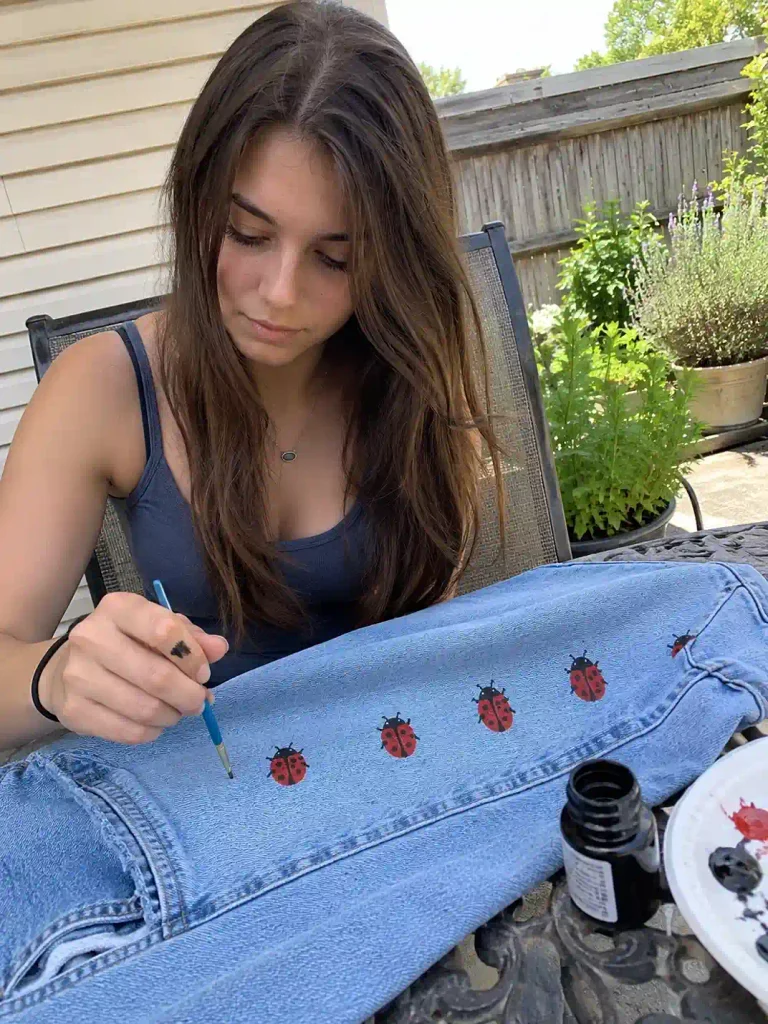
Dip the tip of your detail brush (or the back end of a paintbrush) into black paint and dab spots onto both sides of the body.
Real ladybugs usually have somewhere between two and seven spots per side, so you’ve got room to improvise.
Quick comparison of spot styles people commonly use on denim art:
| Spot style | Best for | Difficulty |
|---|---|---|
| Perfectly round dots | Clean, cartoon look | Easy |
| Varied dot sizes | Natural, hand-painted look | Medium |
| Asymmetrical scatter | Whimsical, artsy vibe | Easy |
| Outlined dots | Bold graphic style | Medium |
I go with varied dot sizes now. Perfectly even dots looked too much like a sticker to me, and I wanted mine to look painted, not printed.
Step 6: add the legs and antennae
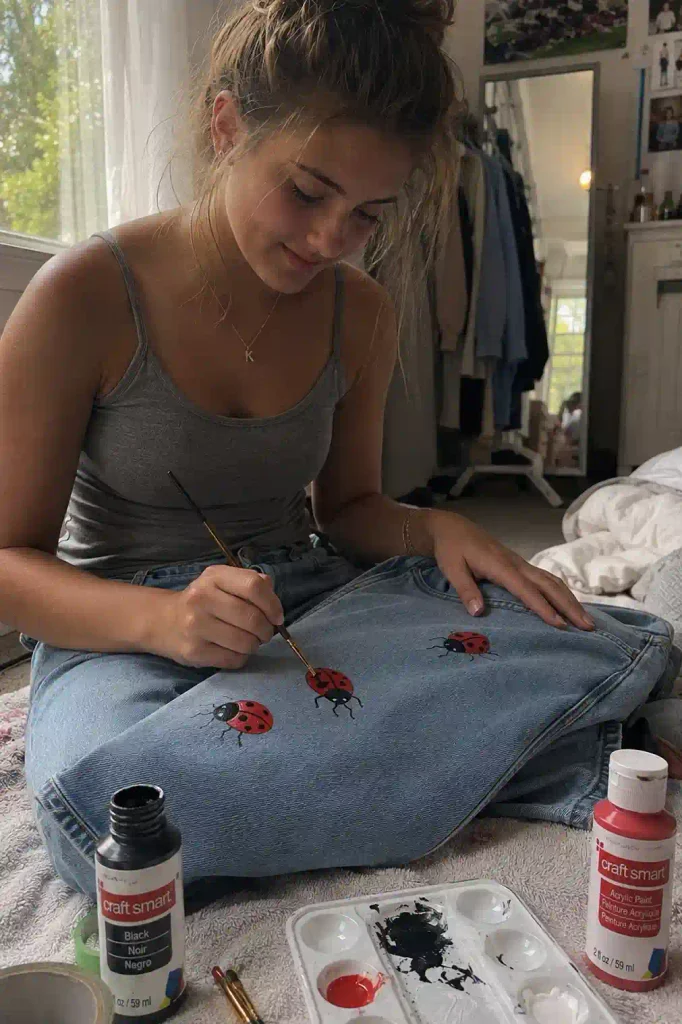
Using your detail brush, paint three thin black legs on each side of the body, angled slightly downward.
Add two short antennae curving out from the head. This part takes maybe two minutes but somehow makes the biggest visual difference.
Suddenly it’s not a bug anymore, it’s a bug that’s walking.
A tiny white highlight dot on the head or on one wing shell adds a bit of shine and depth. It’s optional, but I think it makes the design pop more, especially in photos with flash.
Step 7: heat-set your design
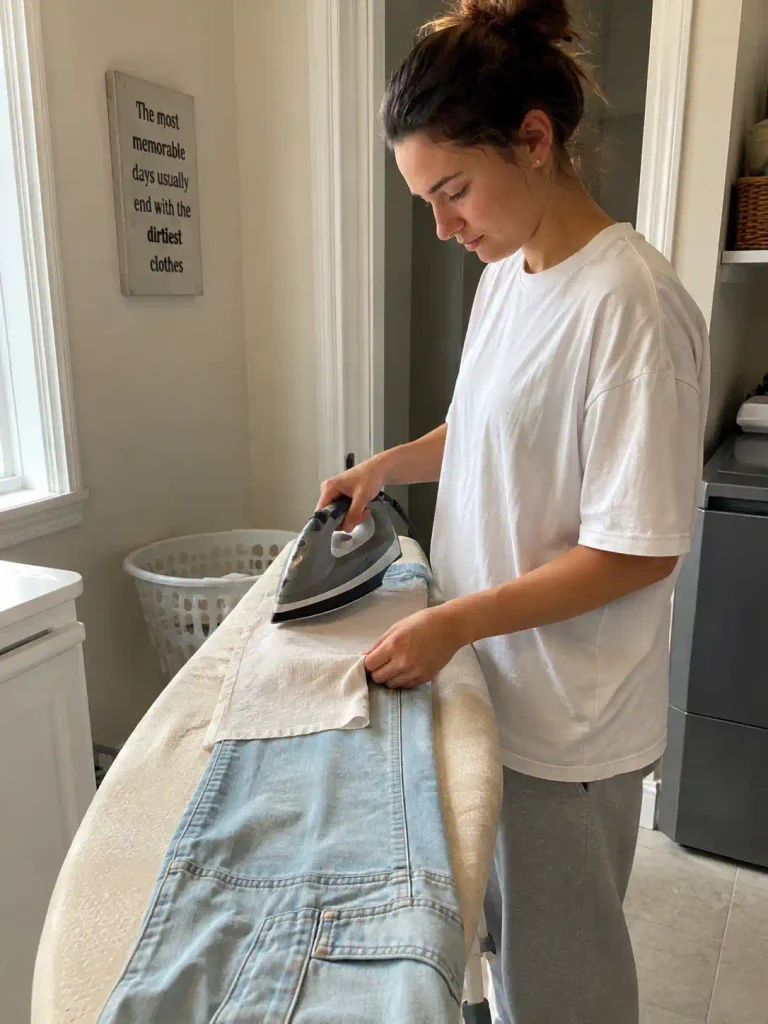
Once everything is fully dry (give it a full 24 hours if you can), it’s time to heat-set.
Turn your jeans inside out, place a thin cloth over the painted area, and iron on medium heat for about 30 seconds per section. No steam.
This step is not optional. Skip it and your ladybugs will fade or flake off in the first wash.
I learned this one the hard way with my first attempt back in high school, and I still think about that ruined jacket sometimes.
A few extra ideas worth trying
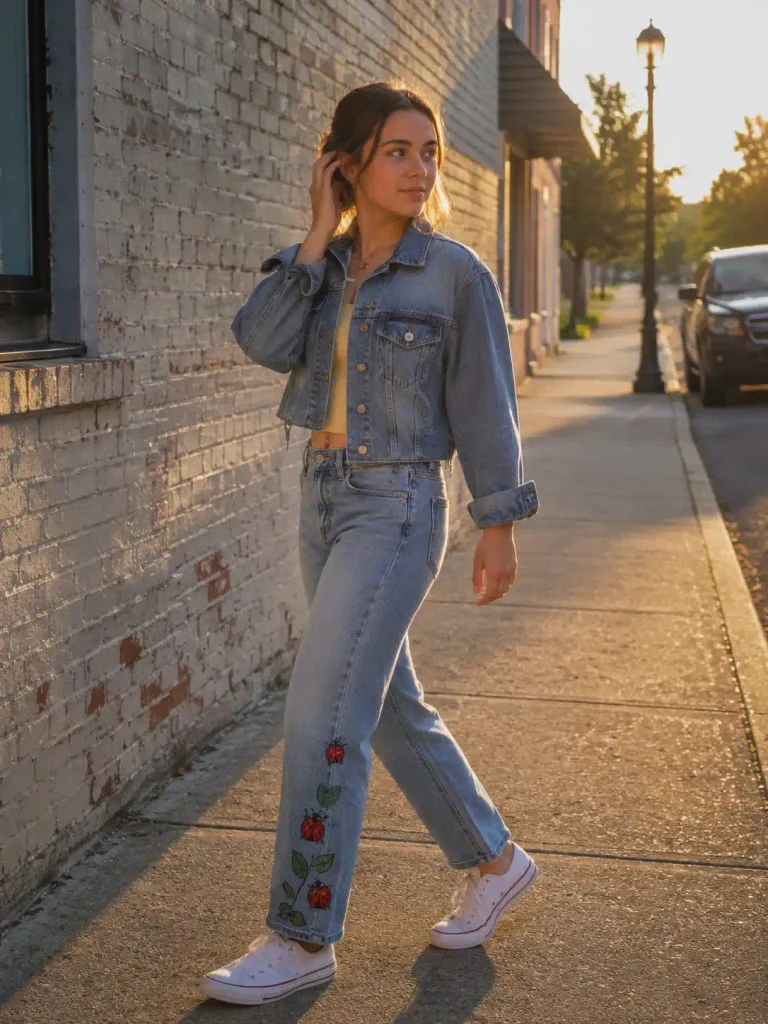
If you’re feeling ambitious, here are some variations that go beyond a basic ladybug:
- Ladybugs on a leaf trail: paint a few green leaf shapes first, then scatter ladybugs walking along them
- Ombre wing shells: blend red into orange or pink for a gradient effect instead of solid red
- Metallic accents: a touch of gold paint on the antennae tips adds a subtle shine without going overboard
- Friend-group swarm: if your friends are painting matching jeans, coordinate ladybug placement so the designs connect across outfits in group photos
Honestly, the metallic accent trick is my favorite. It’s such a small detail, but it catches the light in photos in a way that makes the whole design look more intentional.
Common mistakes to avoid
A few things that trip people up, based on what I’ve seen (and done myself):
- Painting on dirty or oily denim, which stops paint from bonding properly
- Using paint that’s way too thick, leading to cracking once you move around
- Skipping the heat-set step because you’re impatient (don’t do this, seriously)
- Overcrowding the design with too many colors, which makes ladybugs harder to recognize at a glance
FYI, less really is more here. A handful of well-placed ladybugs beats a leg covered in twenty rushed ones.

Frequently asked questions
Will the paint crack when I sit down or wash the jeans? Not if you use flexible acrylic paint mixed with fabric medium and heat-set it properly.
Stiff paint, or skipping the heat-set step, is what causes cracking.
Can I wash painted jeans in a regular washing machine? Yes, once the design is fully cured. Turn the jeans inside out, use cold water, and skip the dryer if you can. Air drying keeps the design intact longer.
Do I need to be good at drawing to try this? No. Ladybugs are one of the most forgiving designs for beginners because the shape is simple and small imperfections just add character.
Start with one bug before committing to a whole cluster.
Final thought
Senior jeans are supposed to look a little imperfect. That’s kind of the point. Grab your paint, sketch a rough ladybug, and just start.
What design are you pairing with your ladybugs, flowers, initials, or a full garden scene? I’d genuinely love to know what you end up creating.
