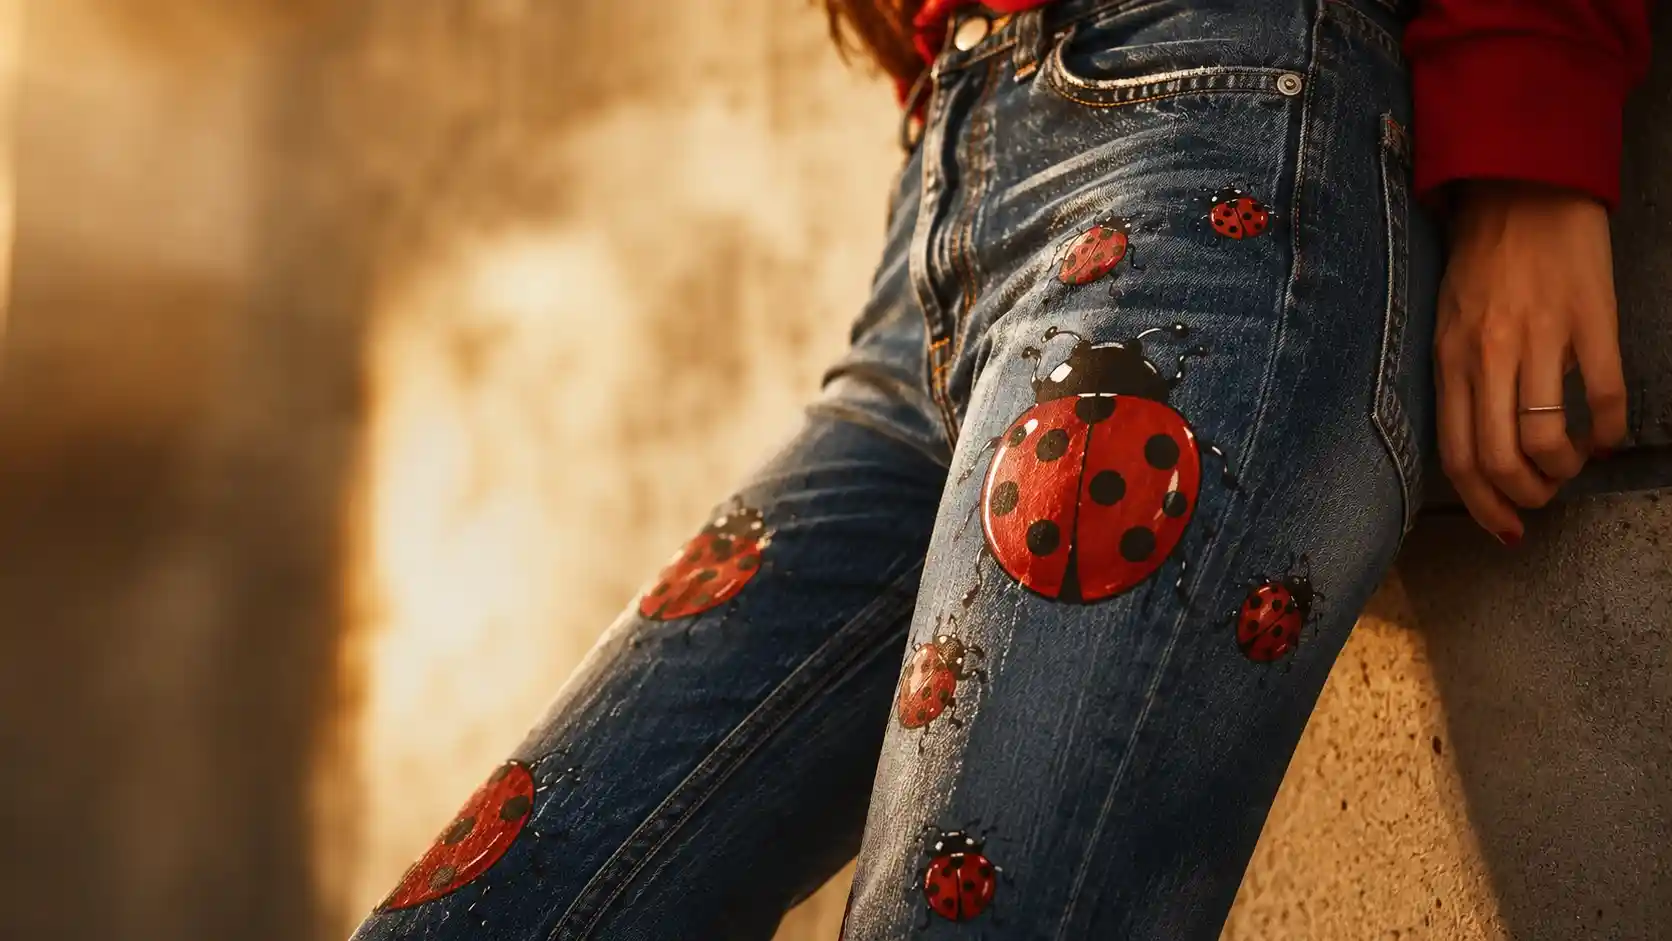
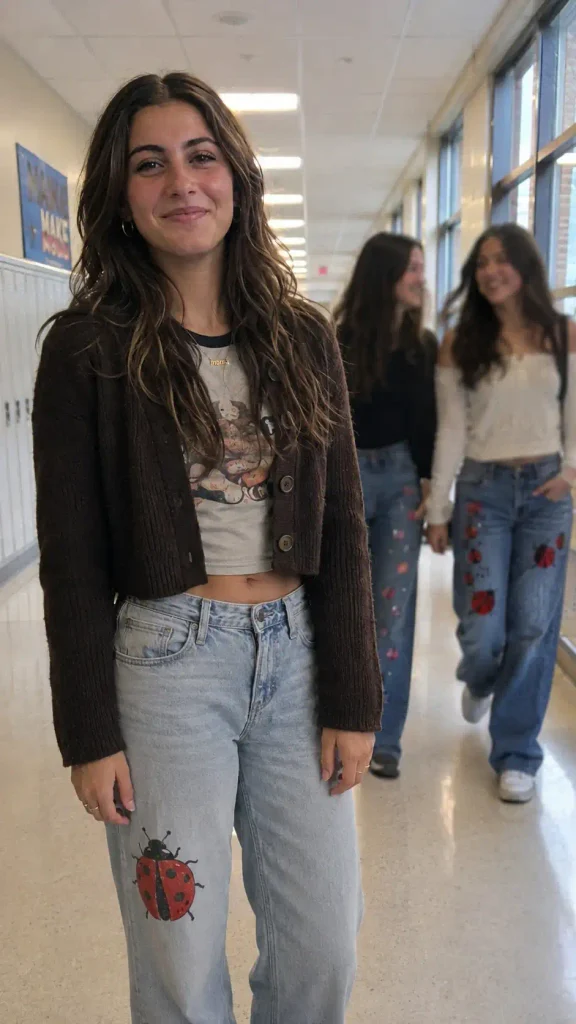
Plain denim had a good run. But senior year is not the time to blend in with a hallway full of identical blue jeans, and a hand-painted ladybug on your pocket says “I made this” in a way that a store tag never will.
Quick clarification before we get into it: senior year here means the last year of high school, cap and gown, “see you at graduation” senior year.
Not senior citizen. Just wanted that on the record before someone lands here looking for the wrong thing.
I painted my first pair of ladybug jeans the fall of my own senior year, mostly because I was broke and bored and had a plain pair of Levi’s sitting in my closet doing nothing.
IMO that pair still holds up better than half the stuff I bought that year.
Ladybugs work because they are small, red, easy to sketch even if you can’t draw, and they carry that “good luck” symbolism that feels exactly right for a year full of college apps, last games, and prom.
Here’s everything you need to pull off a set of painted ladybug jeans that actually look intentional, plus 25 design ideas ranging from tiny and subtle to full-leg and loud.

Picking the right jeans to paint on first
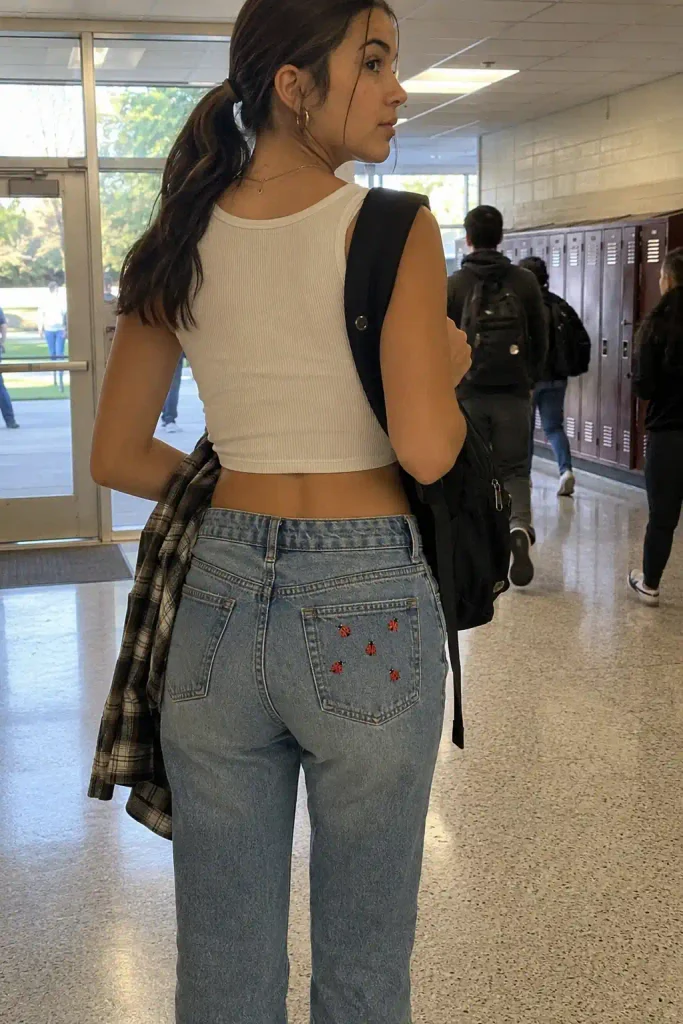
Not every pair of jeans is a good canvas. This part matters more than people think.
Light-wash or white denim shows off red and black paint way better than dark indigo does.
Dark jeans absolutely work, but you’ll need a white base coat under your ladybug first, or the red paint just looks muddy once it dries.
A slightly worn, broken-in pair also holds paint better than stiff, brand-new denim, since the fabric fibers are already relaxed and more willing to soak up the medium.
Straight-leg or wide-leg styles give you more flat surface area to work with, which helps if you’re planning anything past a small pocket design.
Skinny jeans work fine too, just expect the fabric to stretch and flex more once you’re wearing them, so lean toward flexible paint over anything stiff.
One more thing worth saying: thrifted jeans are a great starting point.
You’re not risking a brand-new pair on your first attempt, and a stain or two on an old pair basically disappears once you paint over it.
Why ladybugs, specifically, for senior year
Ladybugs are not a random bug choice. Across a lot of cultures, people treat a ladybug landing on you as a sign of good fortune, and that kind of symbolism has stuck around for centuries, as Birds & Blooms explains in its breakdown of ladybug meaning.
Senior year is basically one long stretch of decisions that feel bigger than they are.
A little painted good-luck charm on your jeans is a low-key way to carry that energy around.
They’re also just easier to paint than most bugs. A ladybug is a red or black oval, some dots, a line down the middle, and two antennae. You do not need art school for this.
What you actually need before you pick up a brush
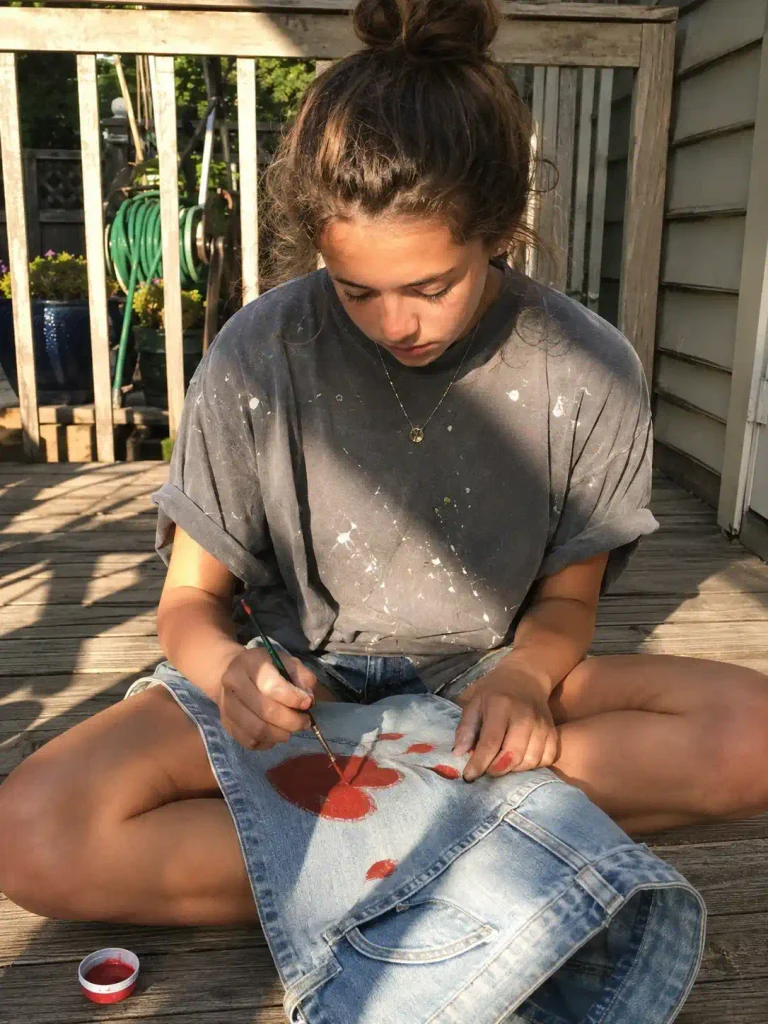
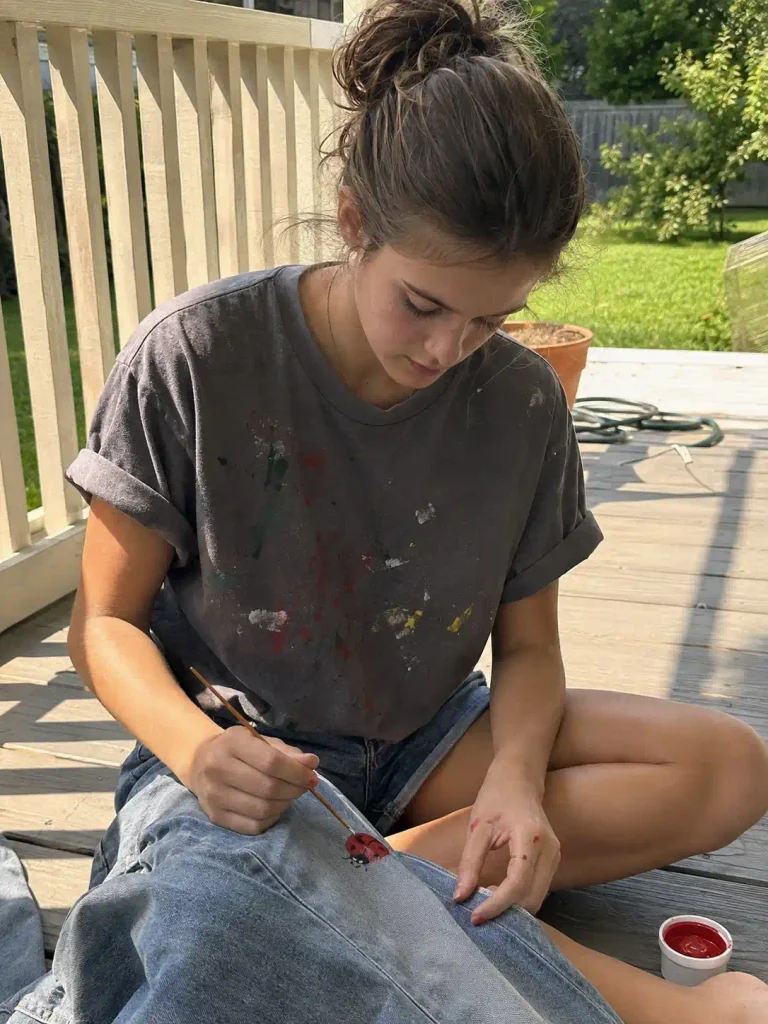
Don’t skip this part. Cheap materials or skipped steps are the reason most DIY painted jeans crack, peel, or fade after one wash.
- Acrylic paint plus a fabric medium. Straight acrylic can crack on denim once it dries stiff, so mixing it with a fabric medium keeps the paint flexible when the fabric bends.
- Levi’s own denim-painting guide recommends acrylic paint for exactly this reason, since it holds up well and adheres to fabric better than most craft paints.
- A stiff piece of cardboard. Slide it inside the leg so paint doesn’t bleed through to the back layer.
- Fine detail brushes. You need one small, pointed brush for the antennae and spots, and a slightly wider one for filling in the body.
- A fabric pencil or chalk. Sketch the ladybug shape first. Trust me, going in freehand with wet paint is how you end up with a lopsided bug that looks more like a stop sign.
- A heat source. Whether that’s a hair dryer, iron, or heat gun, most fabric paint needs heat-setting to survive the washing machine.
If you want dimension instead of flat paint, dimensional or “puff” paint is another option.
Tulip’s puff paint tutorial for jeans shows how a squeeze-bottle paint like that can turn a flat ladybug into something with actual texture, which reads really well in photos.
Here’s a quick paint comparison so you’re not guessing at the craft store:
| Paint type | Best for | Finish |
|---|---|---|
| Acrylic + fabric medium | Detailed, flat designs | Soft, blends smoothly |
| Fabric paint (bottled) | Beginners, bold color | Matte, slightly stiff |
| Dimensional/puff paint | Raised, textured spots | Glossy, 3D |
| Fabric markers | Fine lines, outlines | Thin, precise |
Random side thought while we’re on the topic: I once tried to use leftover nail polish on a denim jacket because I was out of fabric paint.
Do not do that. It flaked off within a week and I learned my lesson the hard way.
Common mistakes worth avoiding
A few things trip people up constantly, so let’s get ahead of them.
Painting straight onto dark denim without a white base. Red paint on indigo jeans dries brownish and dull unless you lay down white first.
Two thin white coats, let each dry, then add your red on top.
Using too much paint at once. Thick, wet layers take forever to dry and crack easier once they do. Thin layers, several of them, beat one thick coat every time.
Skipping the test patch. Always try your paint and fabric medium mix on a scrap of denim or an inner seam first.
Colors read differently on fabric than they do straight from the bottle, and this is genuinely the step people skip most and regret later.
Rushing the antennae and legs. This is the part that makes a ladybug look like a ladybug instead of a red blob.
A fine detail brush and a steady hand (or a fabric marker if your hands shake like mine do) makes a bigger difference than people expect.
Forgetting to protect your workspace. Cardboard inside the leg, an old towel underneath, and painter’s tape around any edges you want crisp.
This step takes two minutes and saves you from a paint-splattered floor.
25 painted ladybug jeans ideas for senior year
Small and cute ideas (great if you’re new to painting)
- A cluster of tiny ladybugs scattered across one back pocket, like they landed there by accident.
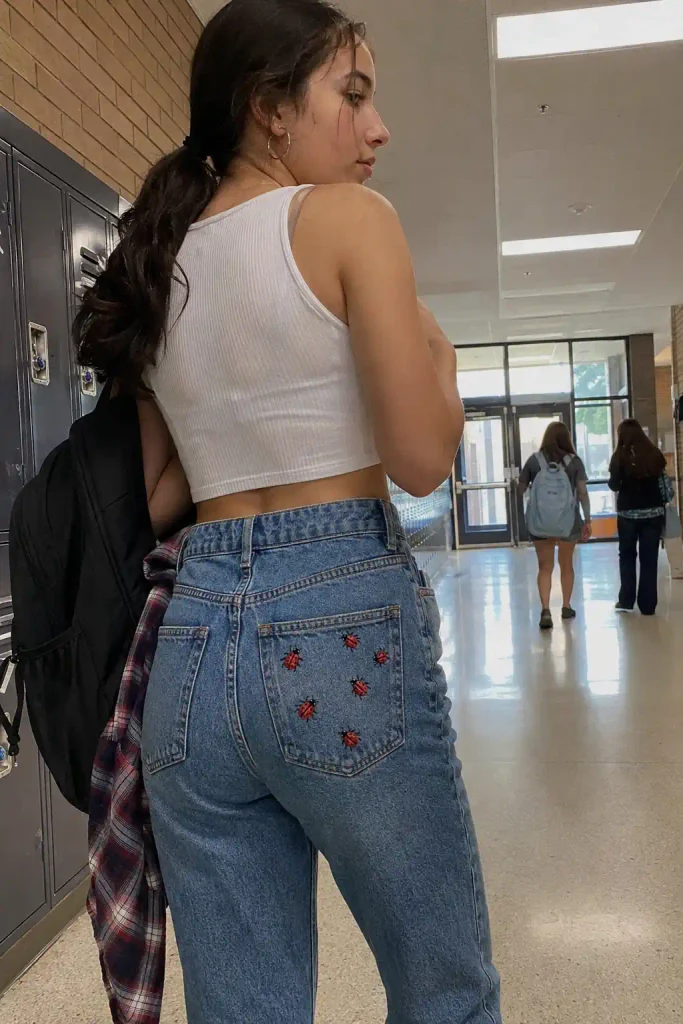
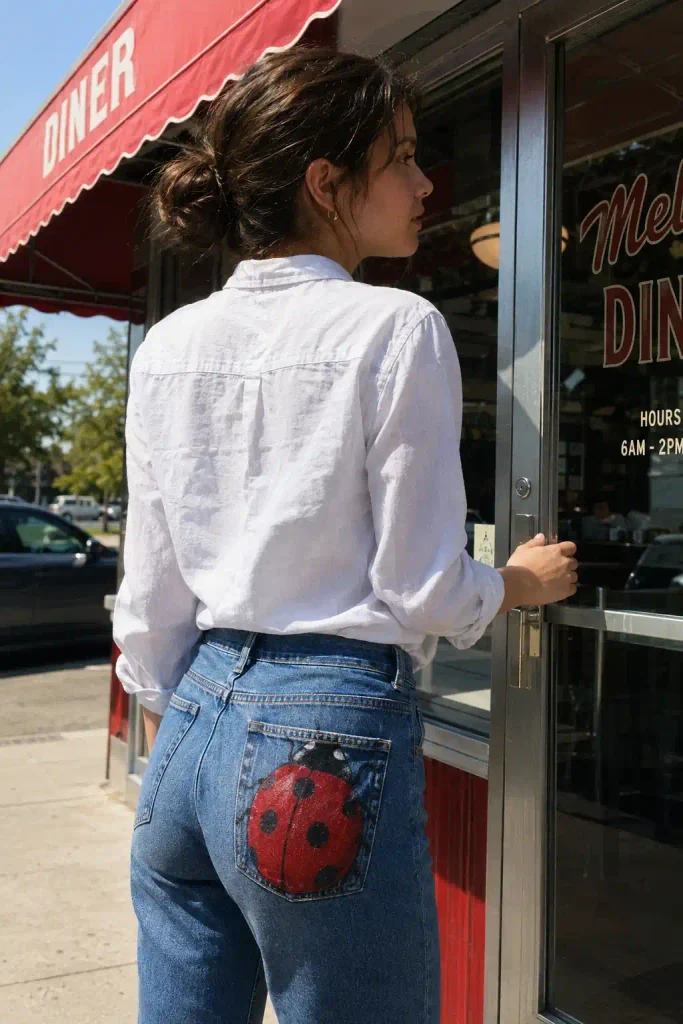
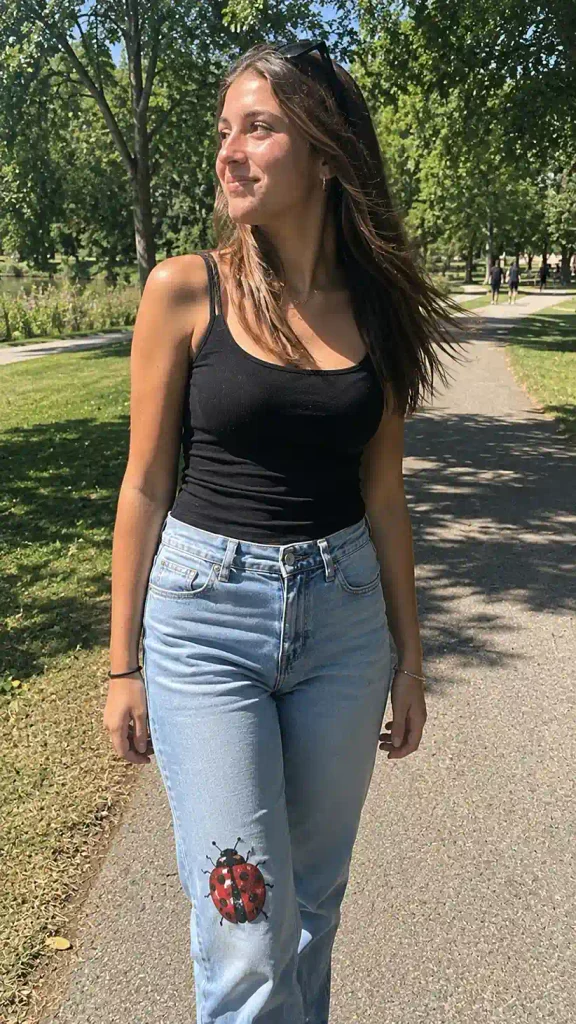
- One oversized ladybug centered on a single pocket, filled in solid red with black dots.
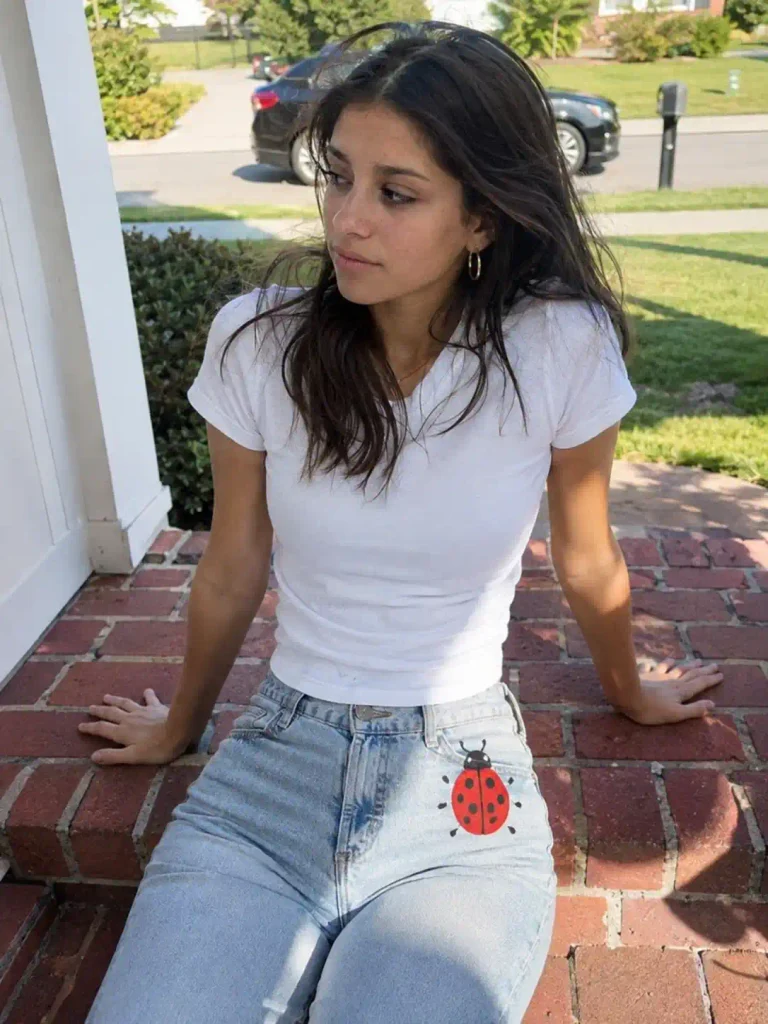
- A ladybug trail climbing up the outer seam of one leg, getting smaller as it goes.
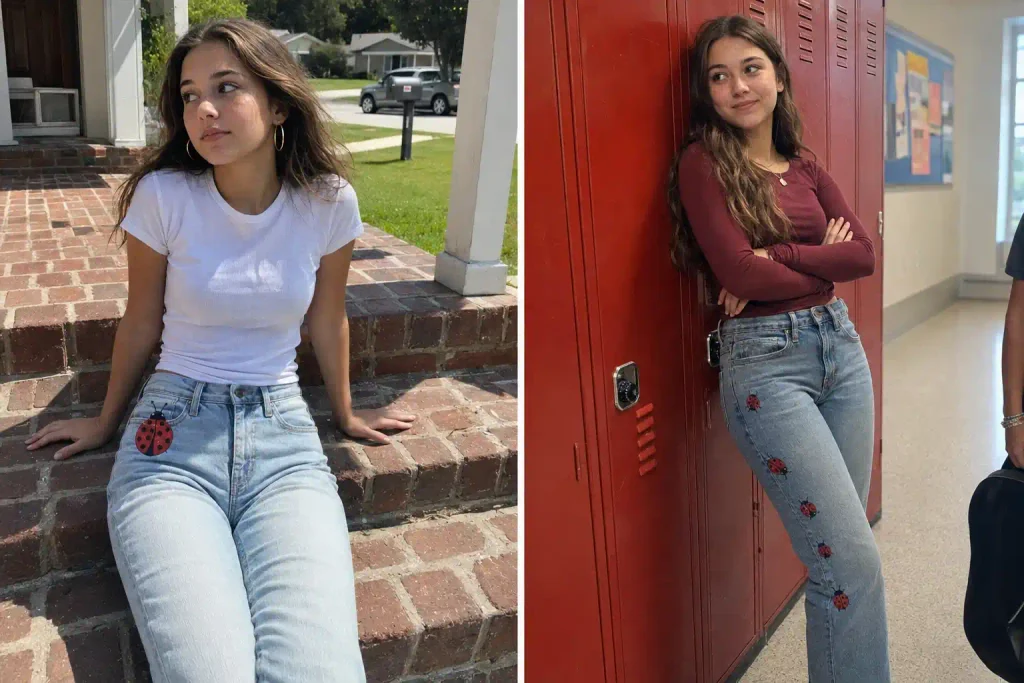
- A ladybug tucked into a painted daisy patch near the ankle, so it looks like it’s hiding in flowers.
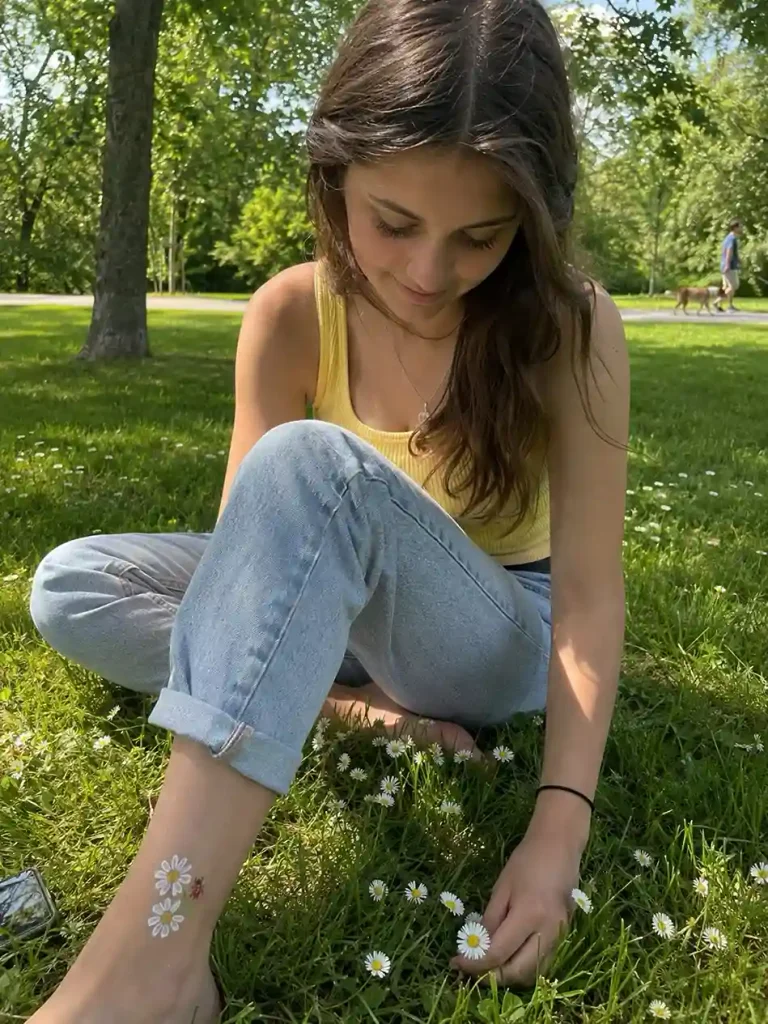
- A mini ladybug family, big, medium, and small, lined up on the cuff.
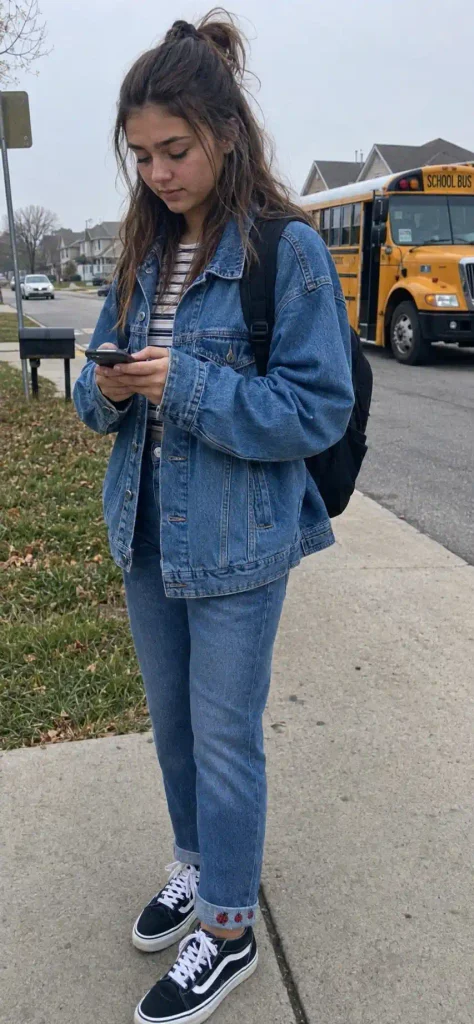
- A ladybug resting on a four-leaf clover, which doubles the good-luck symbolism nicely.

Bold, statement pieces (for when subtle isn’t the goal)
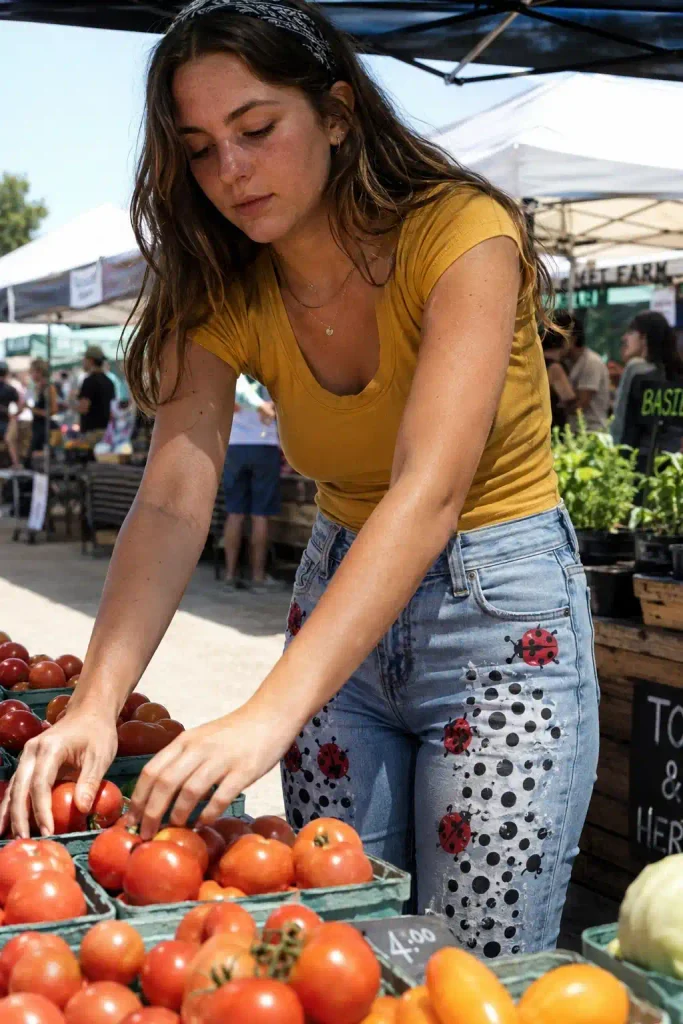
- A full-leg ladybug swarm, dozens of small bugs wrapping from hip to ankle.

- A giant single ladybug taking up an entire back pocket like a logo.
- Ladybugs mixed with color-blocked polka dots for a design that reads as pattern from far away.
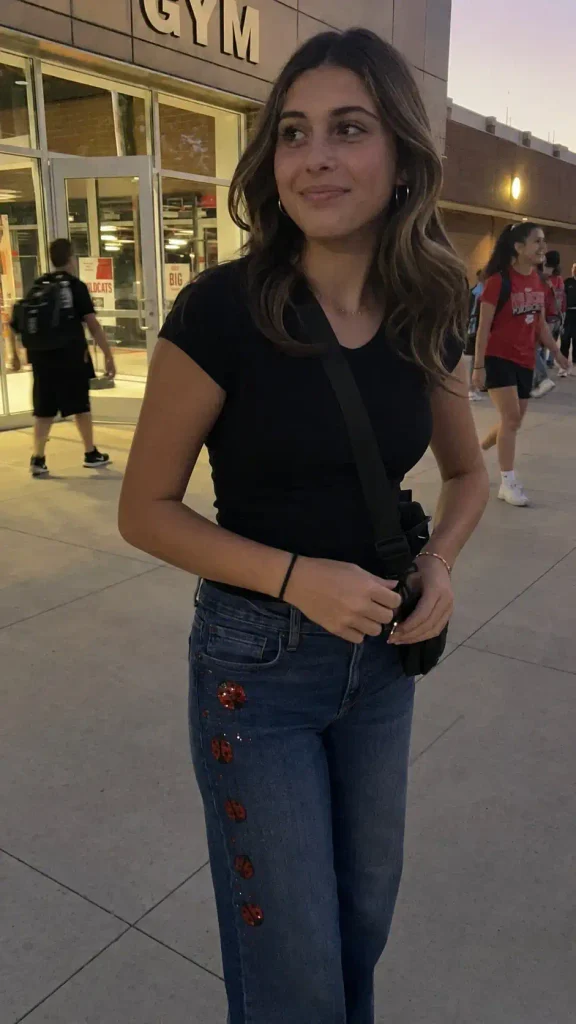
- Metallic or neon-red spots instead of the usual matte red, which honestly looks incredible under stage lights at a football game or dance.
- Ladybug wings spread open across the waistband, painted mid-flight.
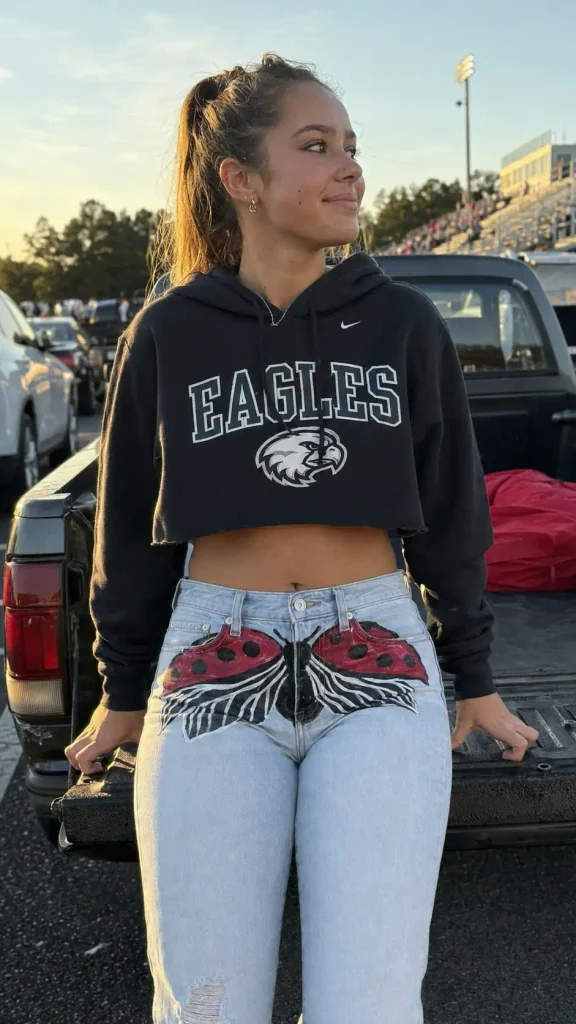
- An ombre gradient, red fading into black, shaped like a ladybug’s shell.
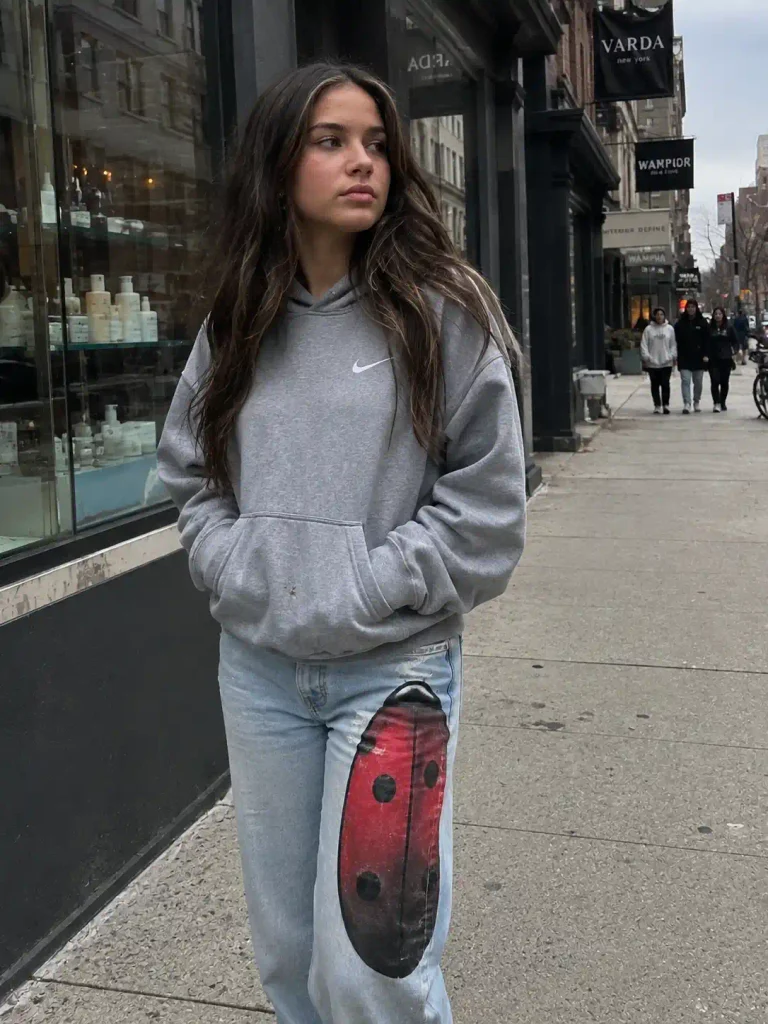
I’ll be honest, the giant single-ladybug pocket design (idea 8) got me the most compliments out of everything I painted that year.
People assumed I bought it from a boutique, which felt like a win.
Squad and friend-group ideas
- Matching initials tucked into each friend’s ladybug design, small enough that only your group notices.
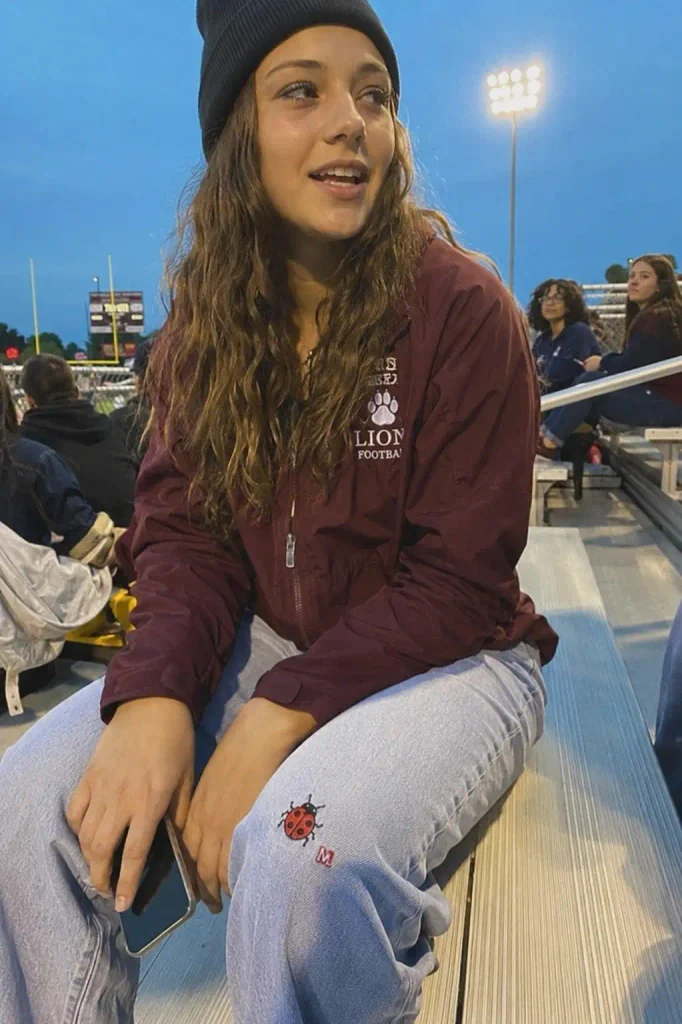
- Your graduation year formed from ladybug spots, arranged to spell out the numbers.
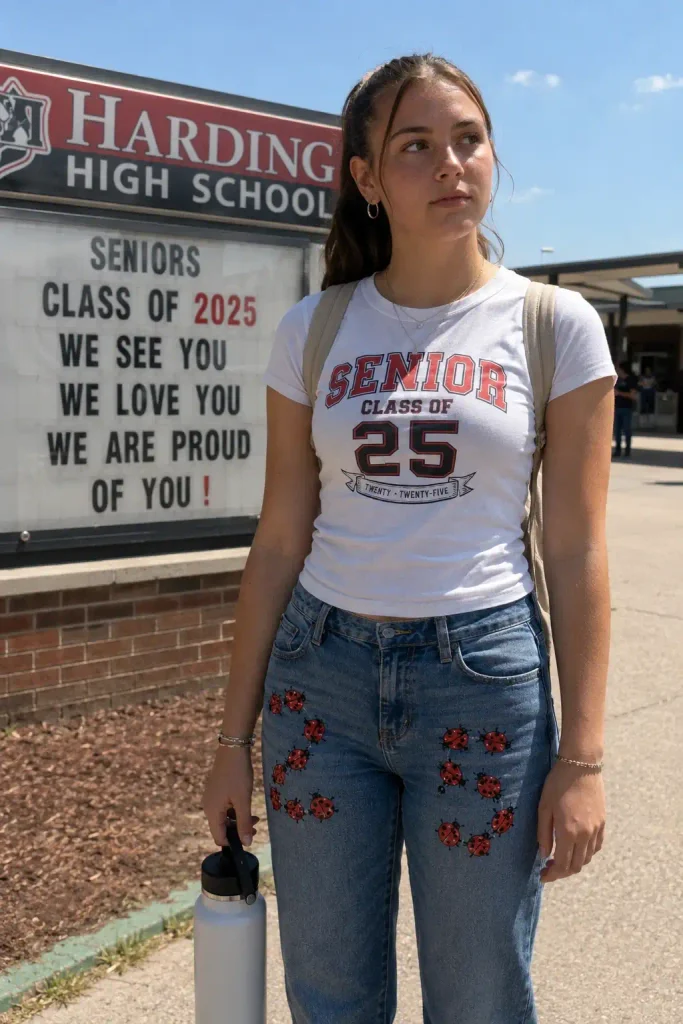
- One bug per friend, painted along a single seam so the whole group photo lines up when you stand together.
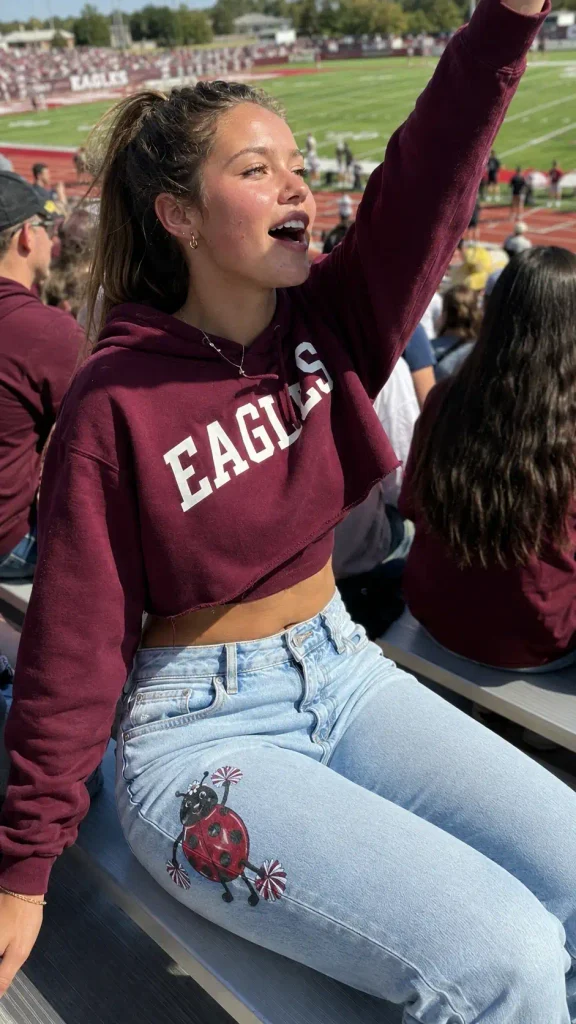
- Ladybugs holding tiny pom-poms, a fun option for game-day denim if your school colors work with red and black.
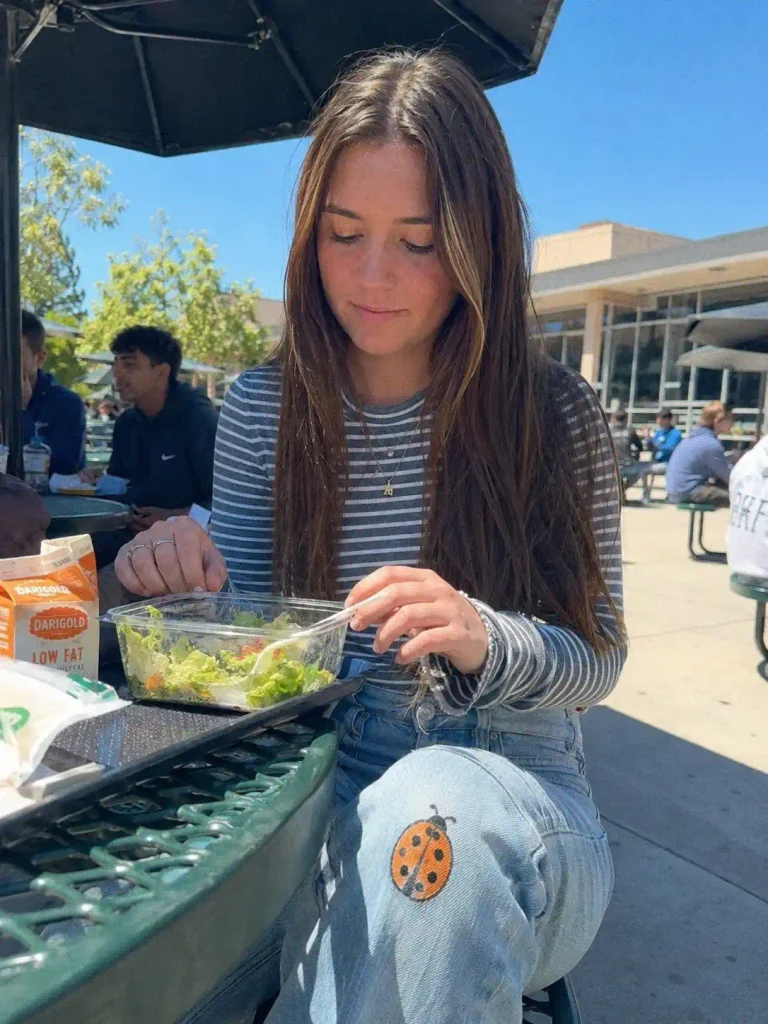
- Same layout, different bug color per friend, so everyone matches without looking identical.
Sentimental, milestone-focused ideas
- A ladybug landing on a small painted “Class of [year]” banner.

- A ladybug on a four-leaf clover topped with a tiny graduation cap.

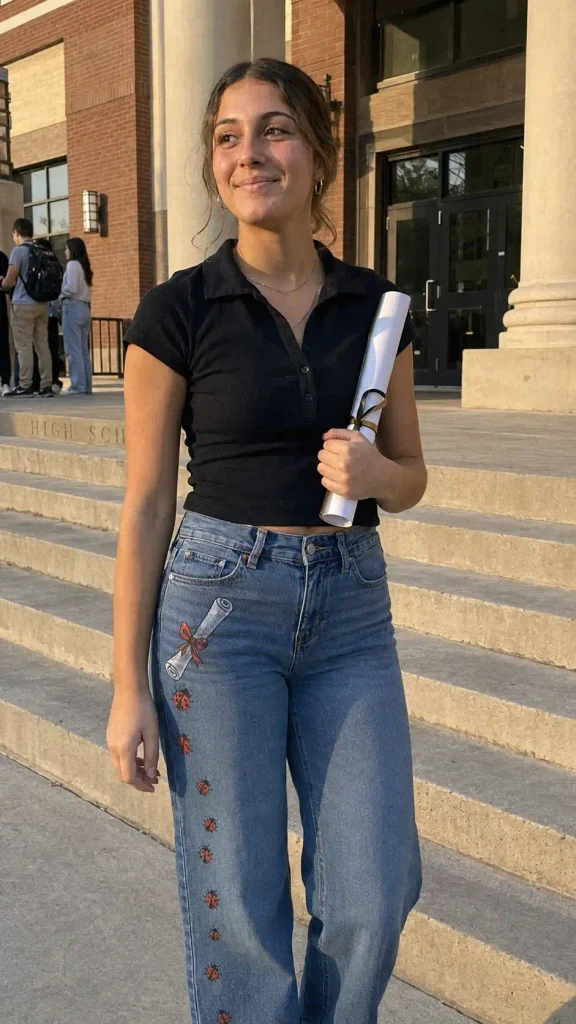
- A trail of ladybugs leading toward a painted diploma scroll, symbolizing the walk across the stage.
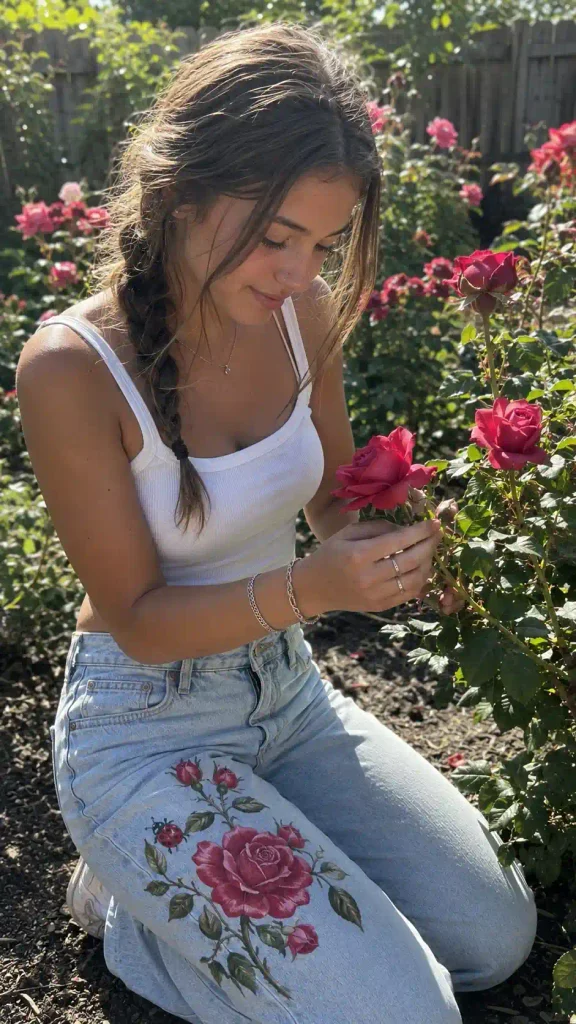
- A garden-style ladybug and rose combo, inspired by an actual garden if you’ve got one.
- My mom’s backyard rose bushes were crawling with ladybugs every June, so this one is basically a memory I get to wear.
Advanced and artsy takes
- A soft watercolor-wash background with one realistic, detailed ladybug painted on top.
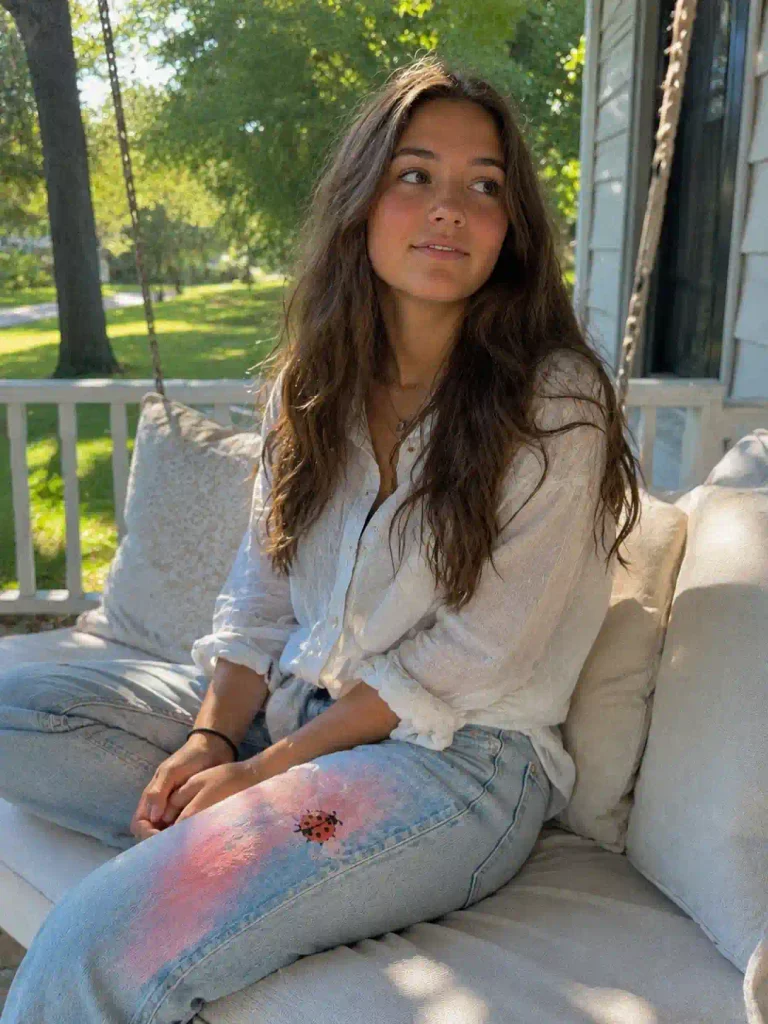
- A single continuous line-art ladybug, one unbroken line forming the whole shape.

- Pointillism-style dots building up the ladybug’s shell instead of solid color.
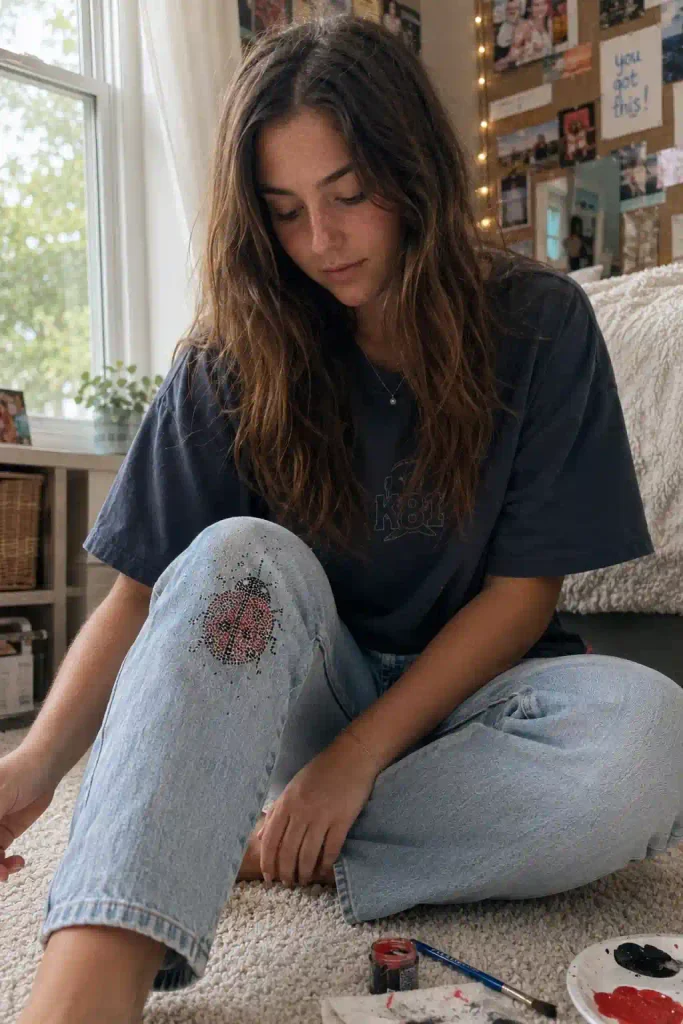
- A glossy 3D puff-paint ladybug, sealed so the shell catches light like it’s actually wet.
That’s 25, and honestly you could mix two or three of these on one pair without it looking cluttered.
A single small ladybug on the pocket plus a graduation-year detail near the ankle is a combo I’d genuinely wear again.
Making the paint actually last through senior year
Nobody wants their design cracking off by homecoming. A few things matter here:
- Heat-set every design once it’s fully dry, following whatever your paint bottle recommends. Skipping this step is the number one reason painted jeans fail.
- Wash inside out, cold water, no dryer. Air drying keeps the paint intact way longer than tumble drying does.
- Seal with a fabric finisher if you used a paint that isn’t already labeled permanent. Angelus’s denim paint collection has a matte finisher option that a lot of people use for exactly this reason.
- Touch up faded spots every few months instead of waiting until the whole design looks worn out.
Ever notice how the jeans people compliment most are the ones that clearly took effort? That’s the whole appeal here. A painted design signals you actually spent an afternoon on this, and that reads as way more interesting than anything off a rack.
Styling painted ladybug jeans through the school year
These work for more than one occasion, which is honestly the best part of a DIY project like this.
- Pair a subtle ladybug-cluster design with a plain white tee for regular school days.
- Save the bold, full-leg swarm design for spirit week or a themed party.
- Dress up a sentimental graduation-themed pair for senior sunrise, senior skip day, or grad photos.
- Keep a low-key single-ladybug pocket pair in rotation for literally everything else.
Painted denim also makes a genuinely good gift, which people tend to forget.
A close friend’s birthday, a graduation gift for a sibling, even a teacher gift if you’ve got a design that leans more subtle than swarm.
IMO a hand-painted pair beats anything you could buy off a shelf, mostly because the recipient knows exactly how much time went into it.
Turning this into a senior-year tradition
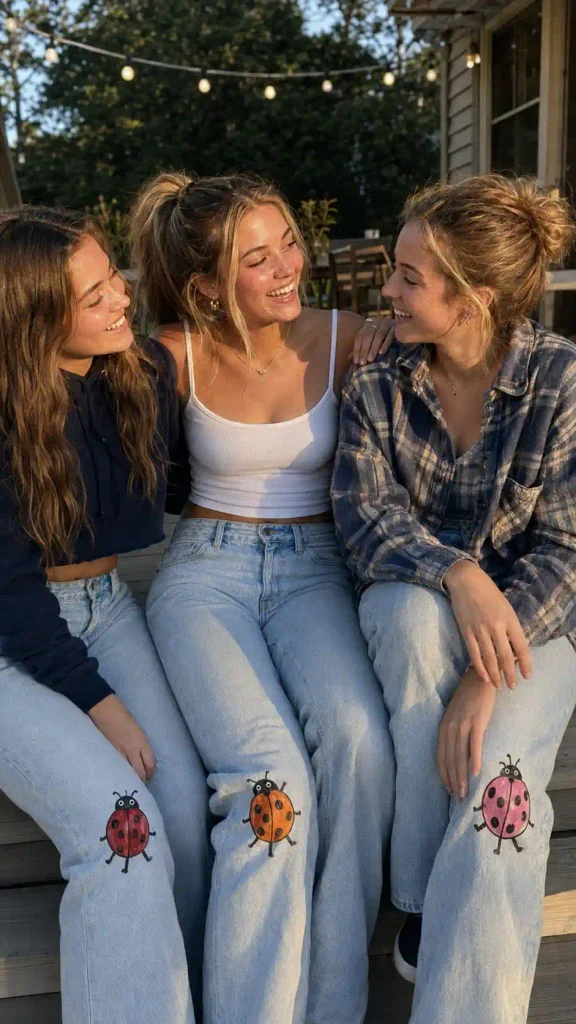
Some friend groups take this further and turn painted jeans into an actual senior-year tradition, not just a one-off project. A few ways that tends to play out:
- A painting day, where everyone brings a pair of jeans and you split one set of paints between the group instead of everyone buying their own.
- A signature bug, where each person picks one detail (a color, a flower, a spot pattern) that shows up on every design in the friend group, tying everyone’s pairs together without making them identical.
- A “wear it to graduation” pact, saving the final design for the actual ceremony instead of wearing it out before the big day arrives.
Wow, it’s a little wild how much mileage you can get out of a $12 bottle of fabric paint.
A single afternoon turns into jeans you’ll probably keep long after senior year ends, which is more than most of us can say about anything else we bought that year.
If you’re stuck deciding where to start, go with whichever idea made you stop scrolling first. That instinct is usually right.
FAQ
Do painted jeans actually survive the washing machine? Yes, as long as you use real fabric paint or acrylic mixed with fabric medium, heat-set the design properly, and wash cold and inside out. Skipping the heat-setting step is where most people go wrong.
What if I’m bad at drawing? Can I still do this? Absolutely. Sketch with a fabric pencil first, use a small ladybug stencil if you want, and remember that ladybugs are forgiving shapes, just an oval, a line, and some dots. You don’t need to be an artist.
How long does one pair realistically take? A small single design takes maybe an hour, including drying time between layers. A full-leg swarm design is more of a weekend project, especially once you factor in letting each coat dry before adding the next.
Final thought
Senior year moves fast, and by spring you’ll probably be wearing whatever’s clean instead of whatever’s cute anyway.
So paint the jeans now, while you still have a free Saturday and the patience for it. Which idea from this list are you trying first, the subtle pocket ladybug or the full-leg swarm? Save this for later and go grab your paint.
