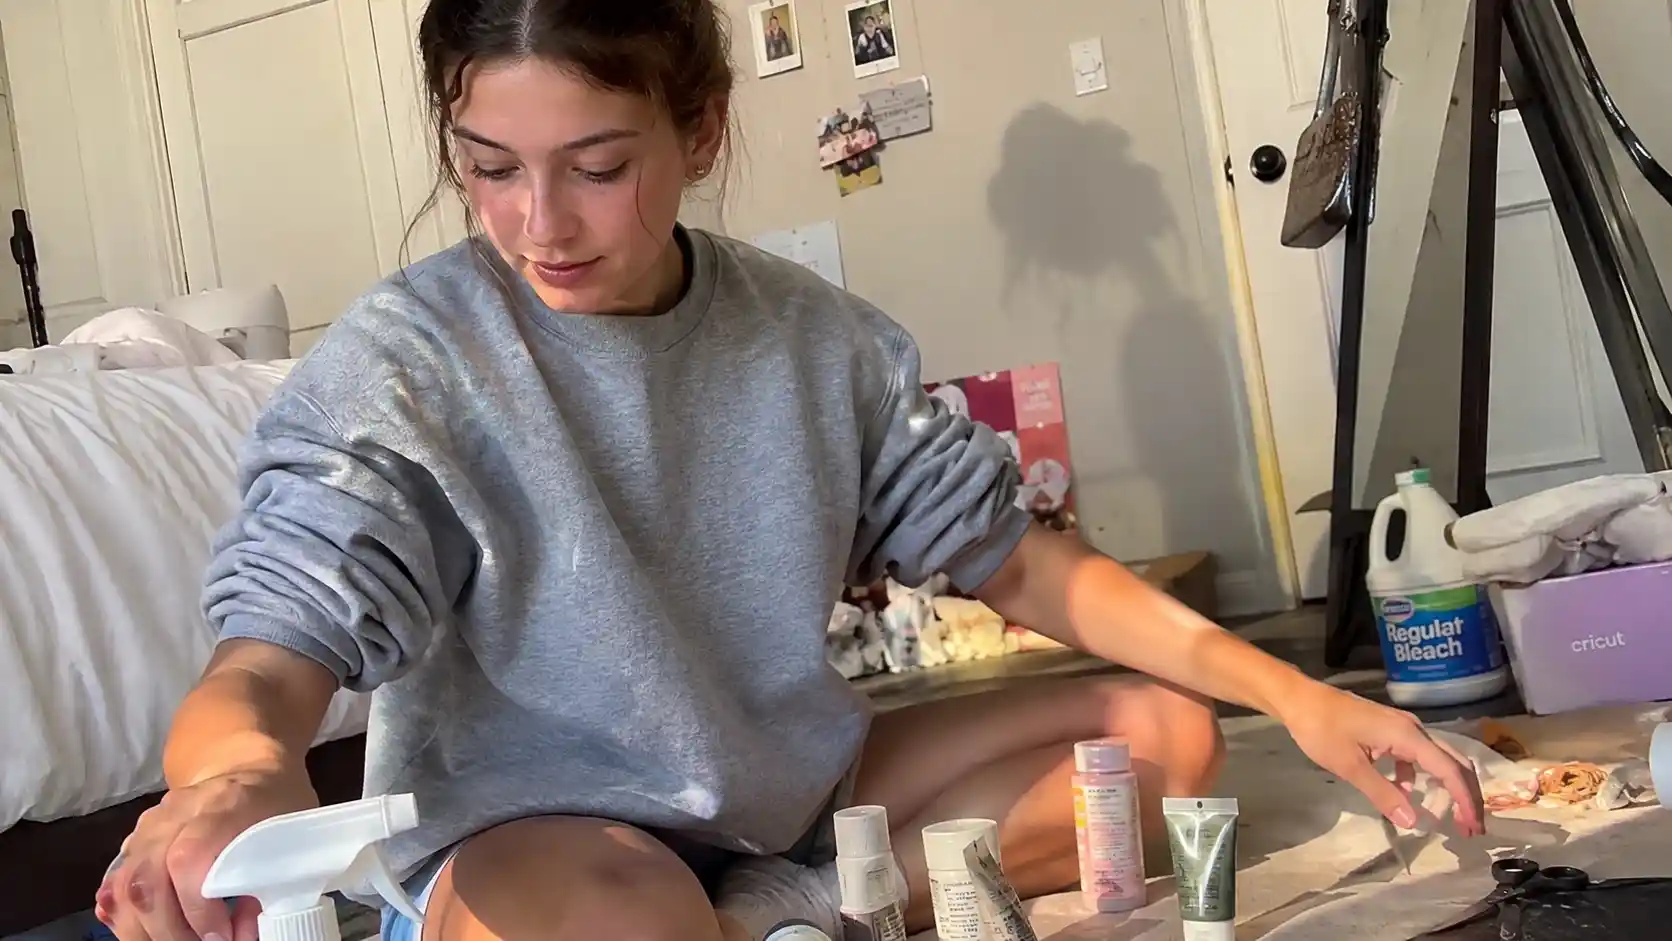
My niece asked me to help her turn a plain crewneck into a “senior sweatshirt” last October, and I had no clue what that even meant.
Turns out it’s a whole thing now: half craft project, half yearbook, half walking billboard for your graduating class.
We ended up making four sweatshirts that weekend, ruined one with too much bleach, and I’ve been hooked on the process ever since.
If you’re staring at a blank sweatshirt and a Pinterest board full of ideas you’re not sure how to actually execute, this is for you.
I’ve made most of these myself, watched friends mess up a few of them (bleach is not your friend if you’re impatient), and I’ll tell you straight which ones are beginner-friendly and which ones will test your patience.
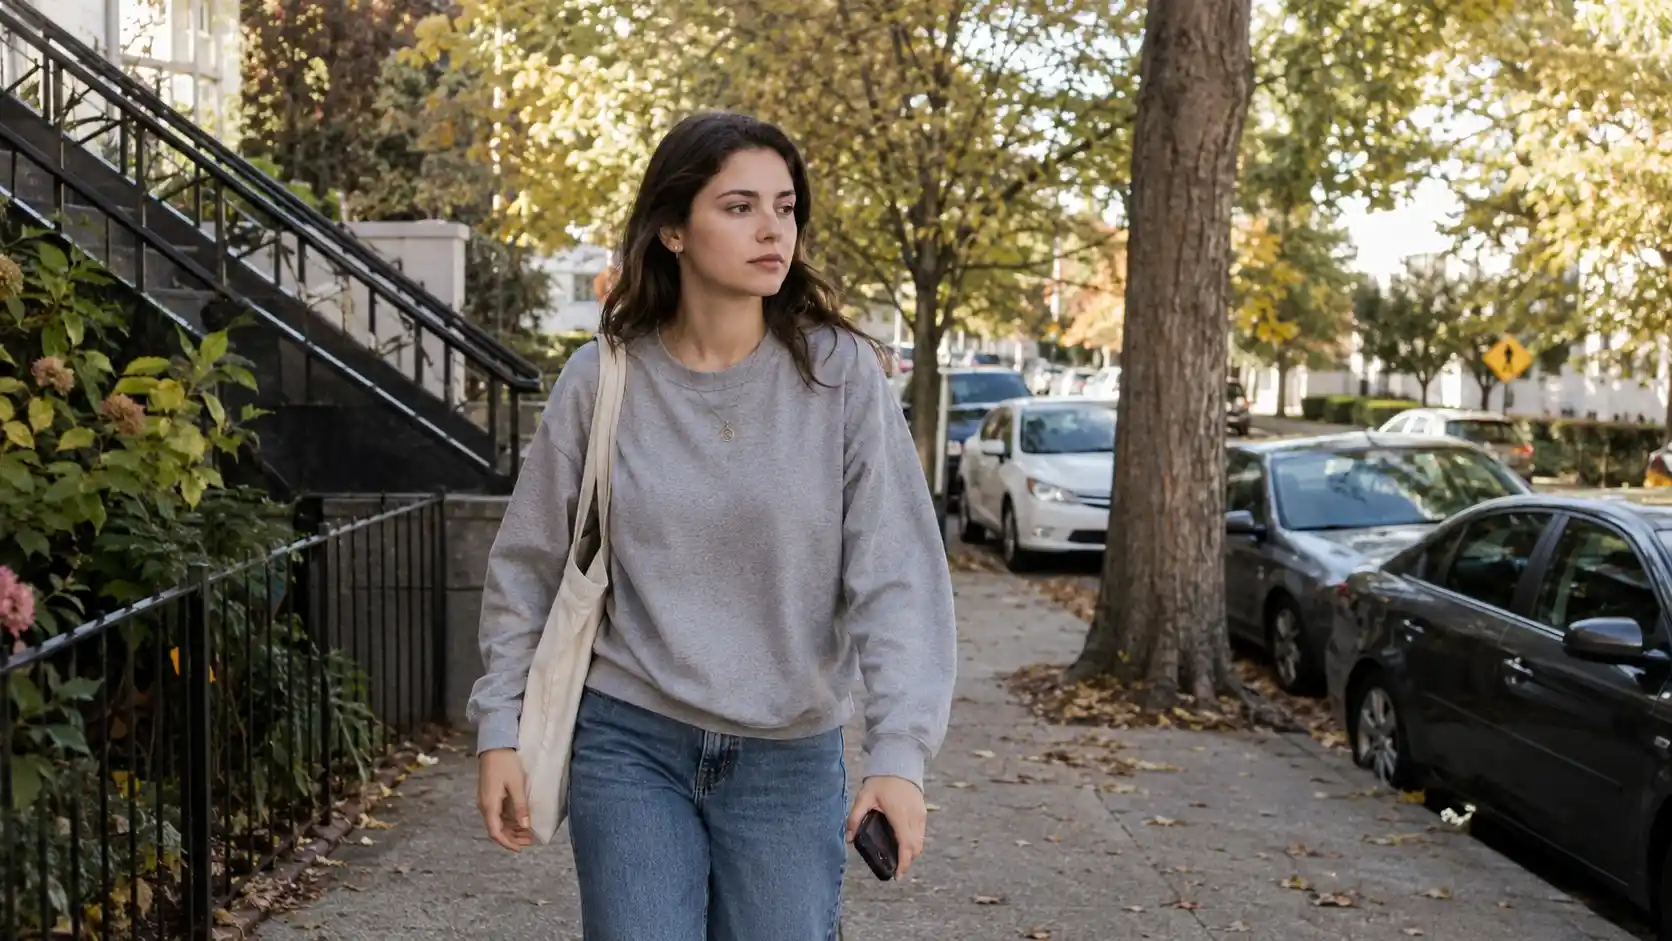
The Complete Guide To Senior Year Sweatshirts Styles Designs And Buying Tips
Discover More →Quick answer, if you’re short on time:
| Method | Skill level | Best for |
|---|---|---|
| Iron-on vinyl (HTV) | Beginner | Names, grad years, clean text |
| Bleach or tie-dye | Beginner-intermediate | Backgrounds, statement pieces |
| Fabric or puff paint | Beginner | Lettering, small details |
| Patches and embroidery | Intermediate | Varsity or heirloom-style pieces |
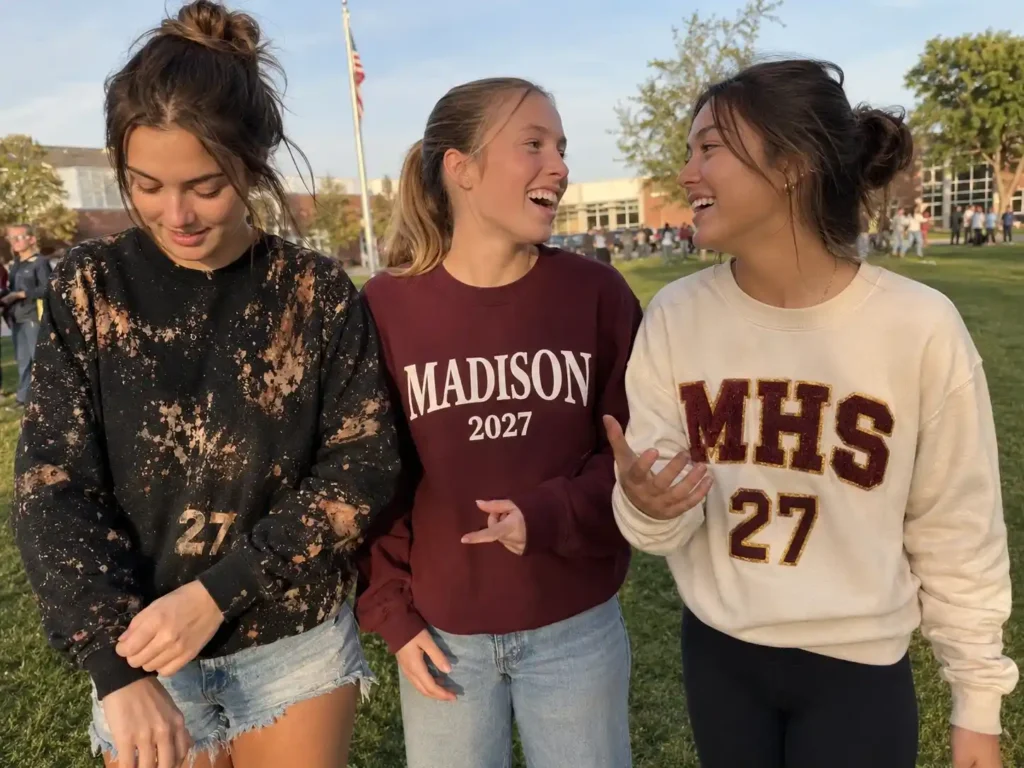
1. Bleach-splatter with your class year
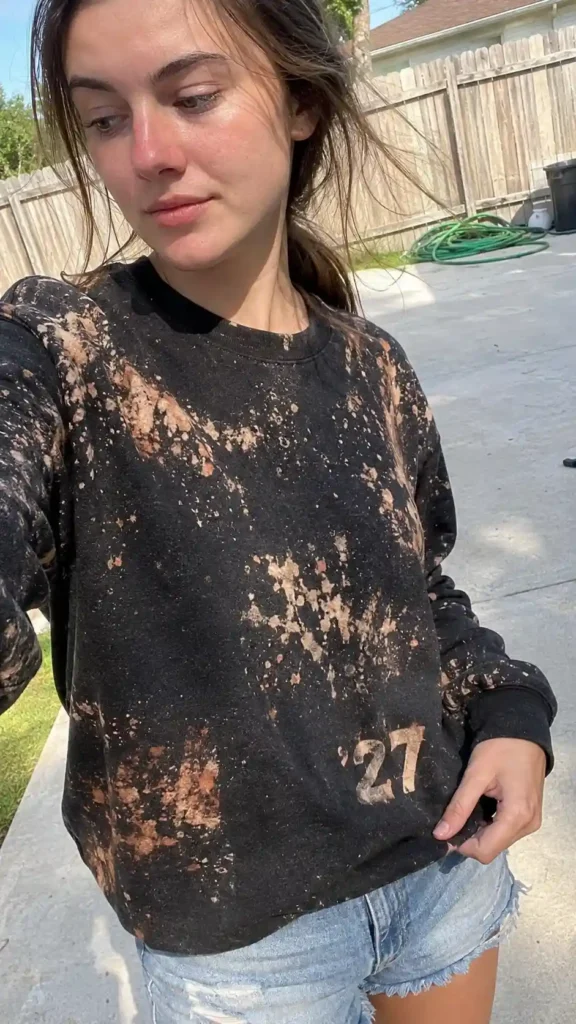
Grab a dark sweatshirt, a spray bottle, and a bleach-and-water mix (roughly one part bleach to one part water works fine).
Fold the sweatshirt accordion-style, band it with rubber bands, then spray.
The bands stay dark, everything exposed lightens up, and you get this marbled, lived-in look that photographs really well.
This is genuinely one of the easiest projects on this whole list, but it’s also the one that can go sideways fastest if you get impatient and drench the fabric. Clorox has a solid walkthrough on stopping the reaction with a hydrogen peroxide solution once you like the color, which saved a sweatshirt of mine that I sprayed a little too enthusiastically.2. Iron-on vinyl name and grad year
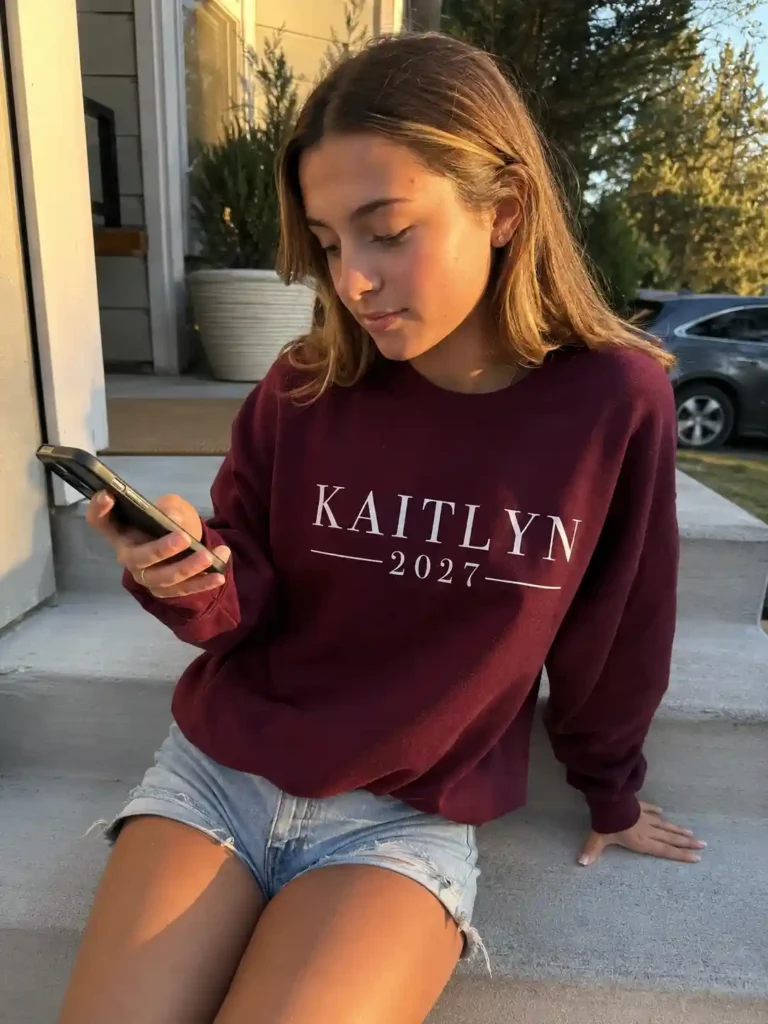
If you own a Cricut or Silhouette (or have a friend who does), heat transfer vinyl is the fastest way to get crisp text on a sweatshirt.
Cut your design, mirror it, weed out the extra vinyl, and press. Done in maybe 20 minutes.
I’ll be honest: my first attempt peeled at the edges after two washes. Turned out I hadn’t pressed long enough.
Jennifer Maker has a beginner-friendly guide to heat transfer vinyl that walks through the exact press times, and I wish I’d read it before, not after, ruining a shirt.3. Puff paint 3D lettering
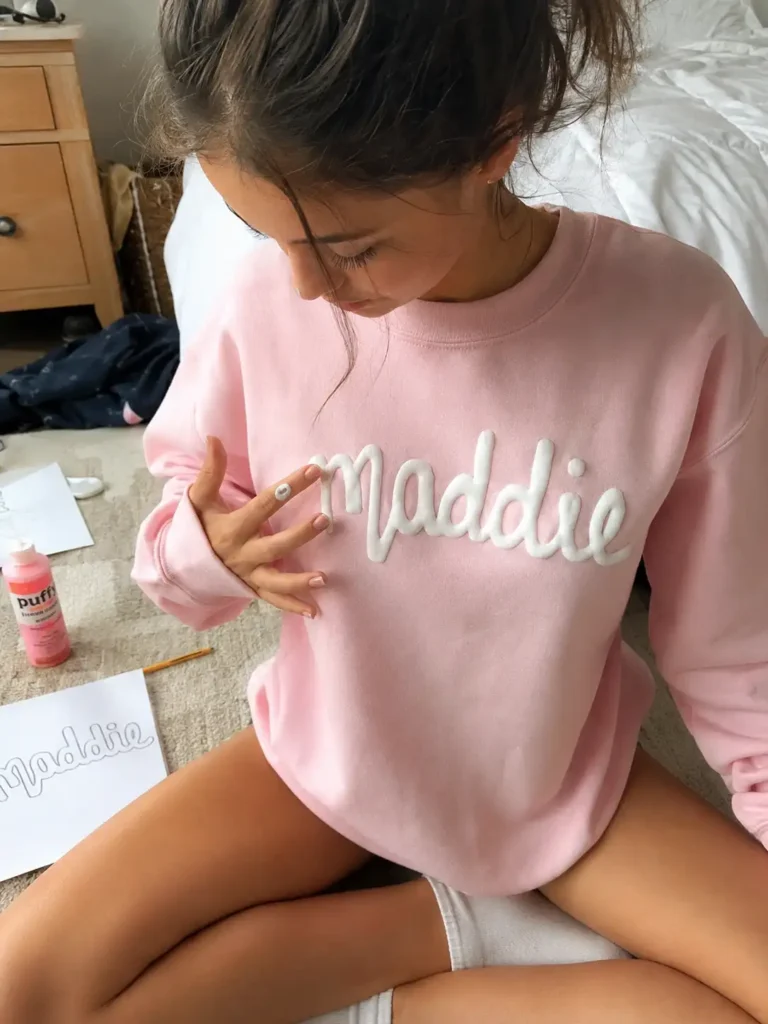
Nothing says “made this in my bedroom in the 2000s” quite like puff paint, and honestly, that’s the appeal.
It bubbles up under heat and gives you raised, textured letters without needing any equipment beyond the bottle itself.
Write your name or class year in pencil first, then trace slowly with the nozzle. Go slow. I cannot stress that enough.
Rushing this step is how you end up with letters that look like a toddler wrote them.
4. Ombre tie-dye base with a vinyl mascot on top
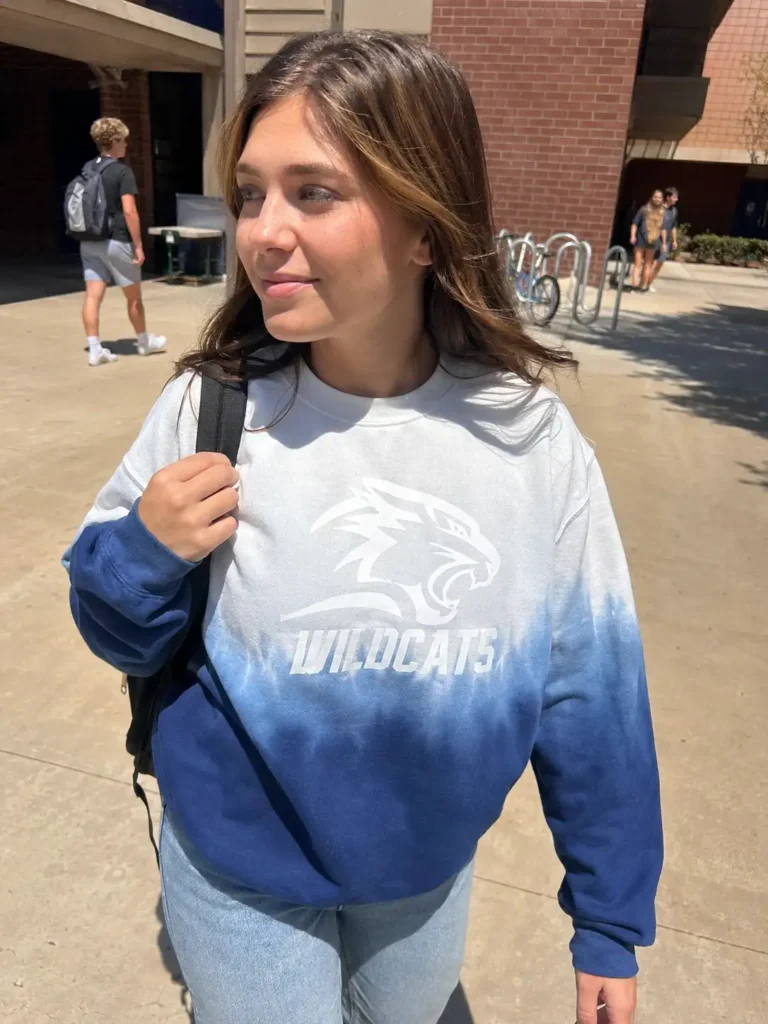
Dip-dye the bottom half of a white or light sweatshirt in fabric dye for a gradient fade, let it dry completely, then add your school mascot or team name in iron-on vinyl once the fabric is set.
The contrast between the soft, blended color and the crisp vinyl edge looks way more expensive than it actually is.
IMO this combo is underrated. Most people pick one technique and stop, but layering two methods is what makes a sweatshirt look custom instead of store-bought.
5. Autograph sweatshirt
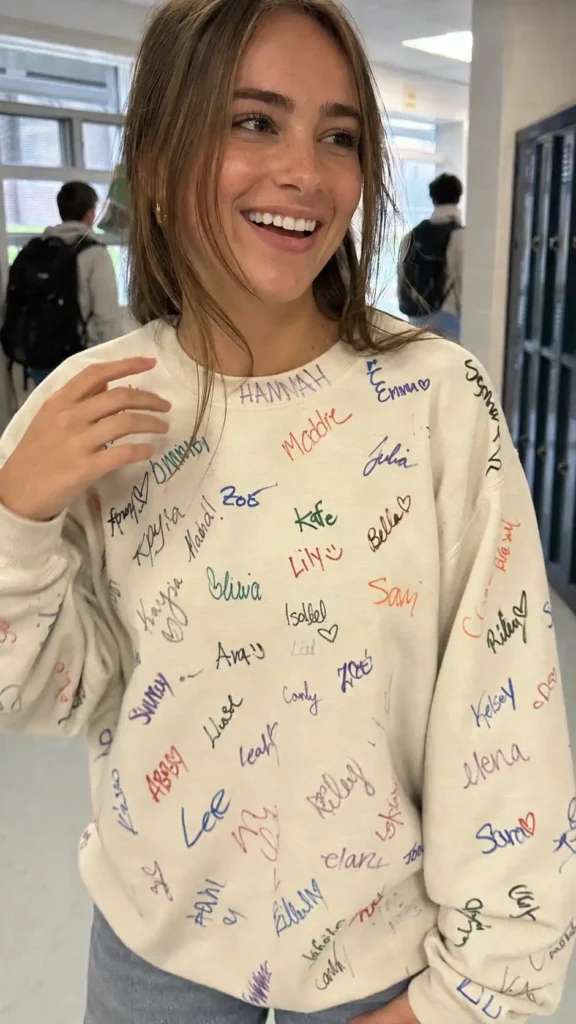
This one’s less about technique and more about the memory you’re building.
Hand your sweatshirt around to friends, teachers, and teammates with a fine-tip fabric marker and let everyone sign it.
Set the ink with an iron (fabric side down, low heat, no steam) once everyone’s added their name.
Some people leave it as-is. Others go back later and trace favorite signatures in puff paint or thread.
Either way, this is the one you’ll actually keep for decades, not just through senior year.
6. Varsity letter patches with your number
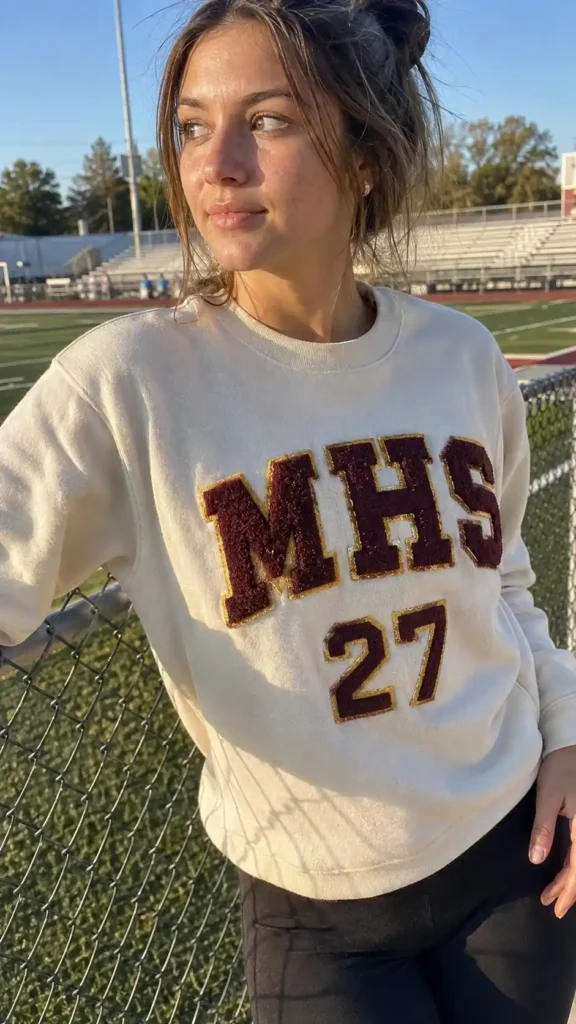
Sew-on or iron-on chenille letters, plus your jersey number stitched or ironed below, give you that classic letterman-jacket look on a cozy sweatshirt instead.
Craft stores sell individual letter patches, so you’re not stuck with a preset word.
A word of honest opinion here: iron-on patches are faster, but sew-on patches survive the washing machine so much better.
If you’re making this to actually wear for a full school year, grab a needle and thread. Your future self will thank you.
7. Photo transfer of your senior photo
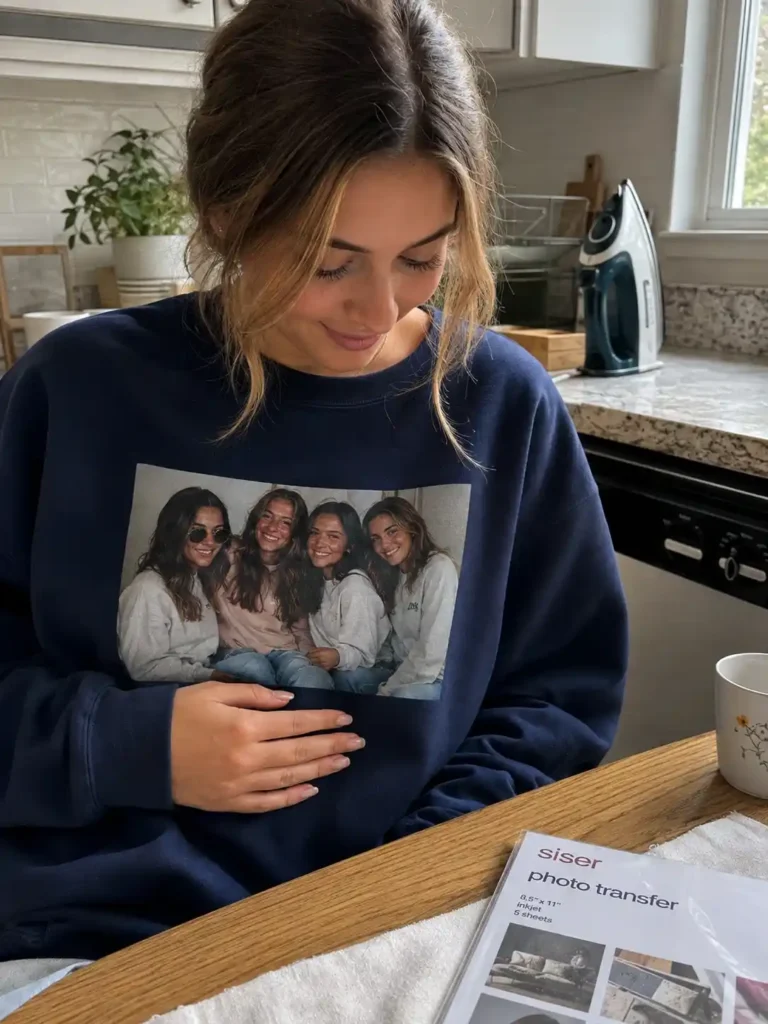
Print your senior picture (or a group shot with friends) onto photo transfer paper, then iron it onto the sweatshirt following the paper’s instructions.
It’s simple, it’s personal, and it turns a plain sweatshirt into something that looks like a yearbook page you can wear.
Transfer paper varies by brand, so test on a scrap fabric piece first if you can.
Some run darker or more matte than the original photo, and you don’t want that surprise on your only good picture.
8. Fringe and distressed grunge sweatshirt
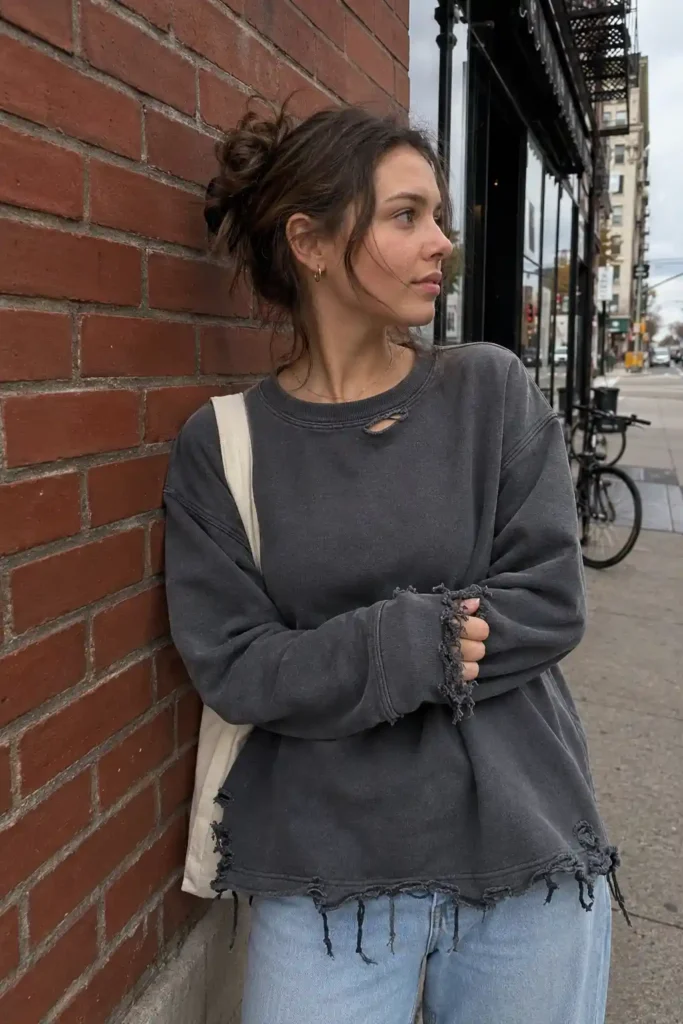
Cut small slits along the hem and cuffs, then pull and fray them by hand for a worn-in, grunge-adjacent look.
Add a few strategic rips near the collar if you’re feeling bold. This one costs nothing but scissors and ten minutes.
My honest take: this style isn’t for everyone, and that’s fine.
It reads a lot more “thrifted skate shop” than “school spirit,” so pair it with a subtle grad year patch if you still want it to feel like a senior piece.
9. Stenciled mascot silhouette
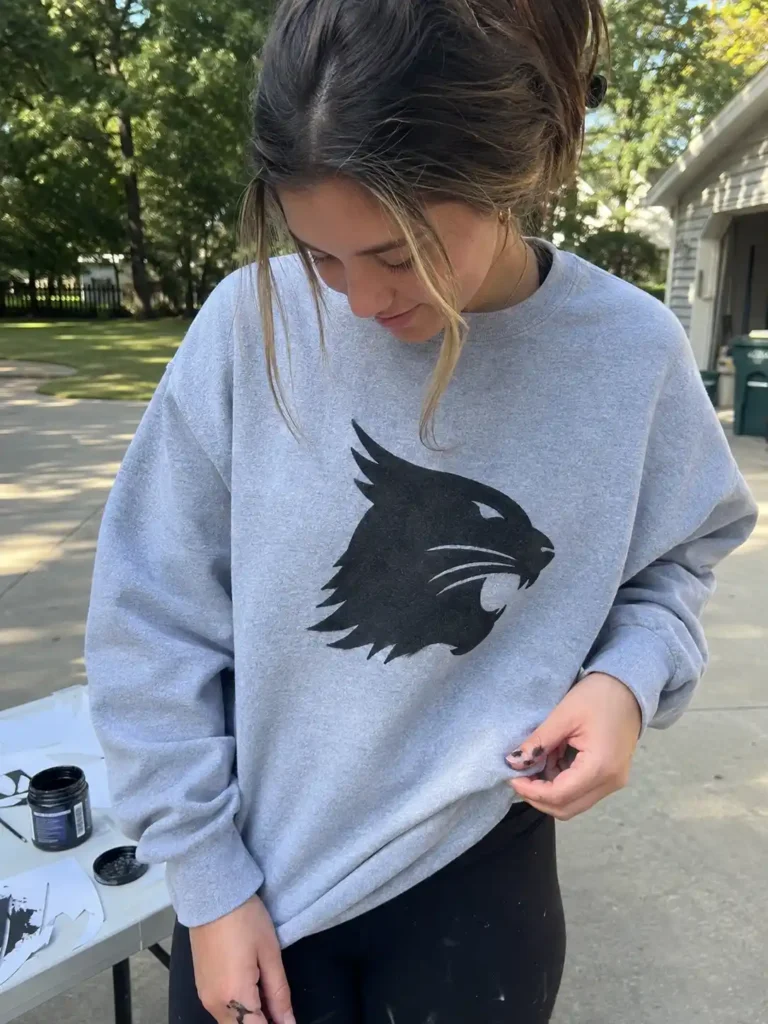
Cut a simple silhouette stencil of your mascot out of freezer paper or cardstock, iron it onto the sweatshirt (freezer paper’s wax side sticks temporarily to fabric, which is genuinely magic the first time you try it), then paint inside the lines with fabric paint.
Peel the stencil off while the paint’s still slightly tacky for the cleanest edges. Wait too long and you risk peeling paint off with it.
10. Patchwork denim pocket sweatshirt
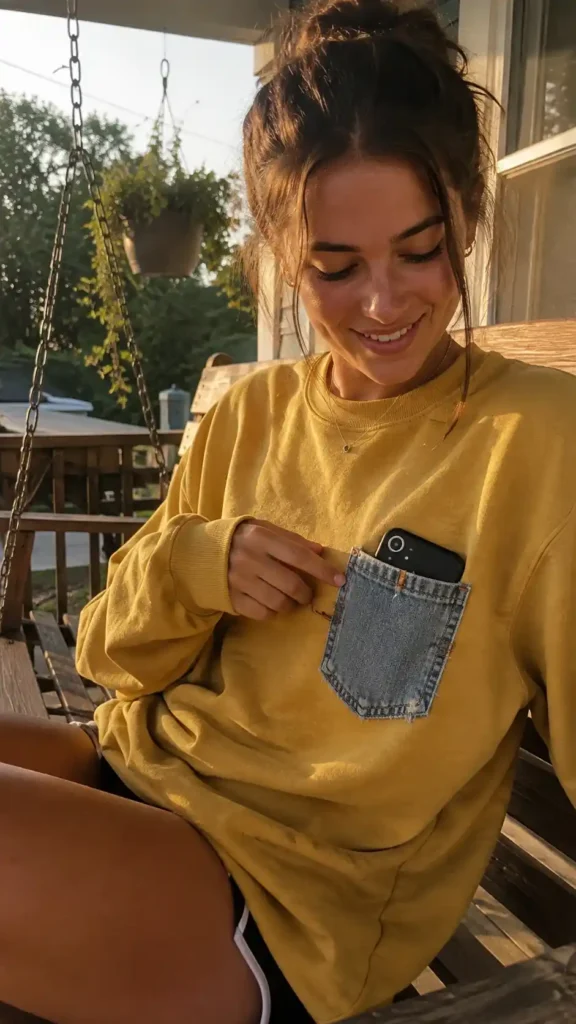
Sew a denim patch pocket onto the front, then decorate it with your grad year, initials, or a small pin collection.
This one takes a little more sewing confidence, but a basic straight stitch around the pocket edges is all you really need.
I like this one because it’s functional. You get somewhere to actually put your phone, unlike half the sweatshirts on this list.
11. Embroidered monogram with a tassel charm
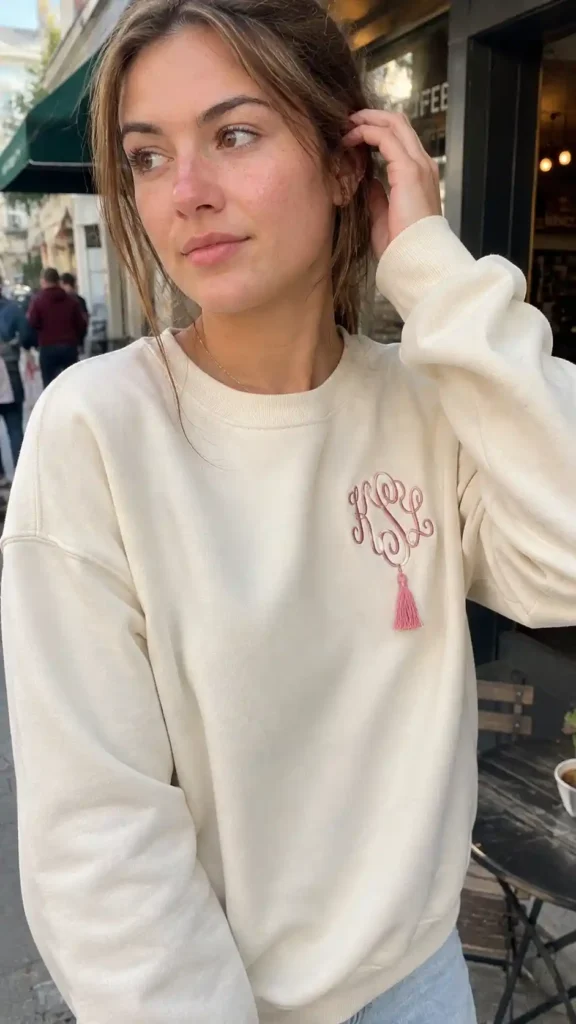
Hand embroidery takes longer than paint or vinyl, no question, but it lasts basically forever and it looks noticeably more polished.
Stitch a simple monogram on the chest, then sew on a small tassel charm (the kind that mimics a grad cap tassel) as a finishing touch.
If you’ve never embroidered before, start with a basic backstitch on scrap fabric before touching the real sweatshirt.
It’s genuinely satisfying once you get the rhythm down.
12. Glitter HTV script name
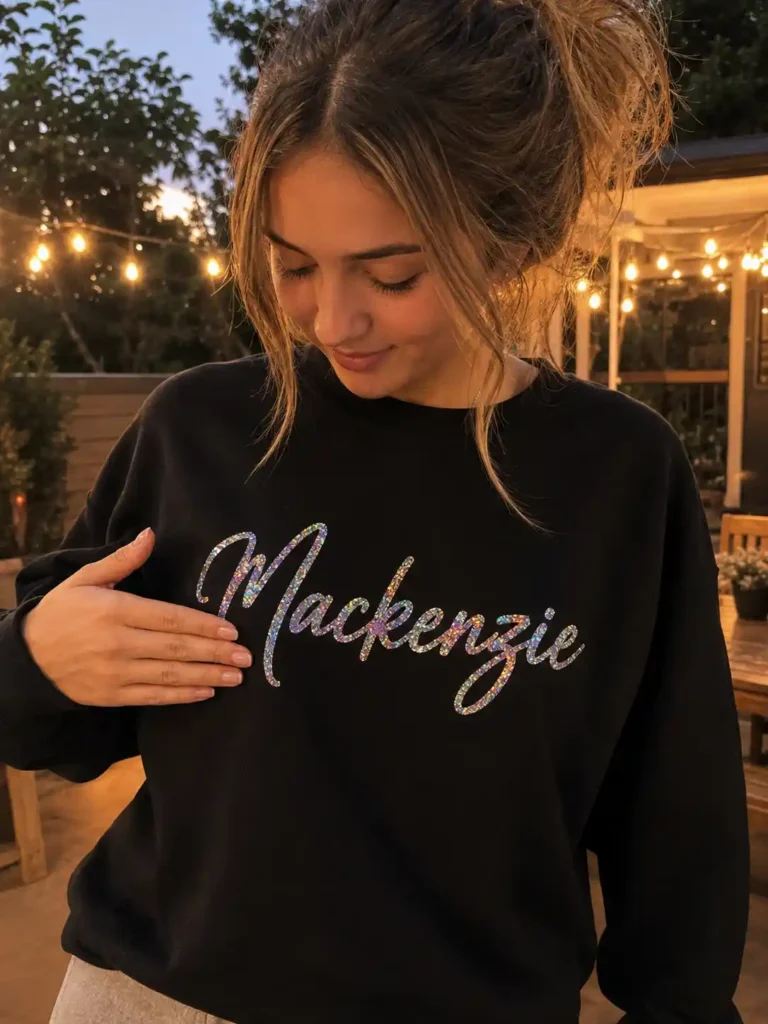
Same process as regular iron-on vinyl, just swap in a glitter or holographic sheet for extra shine.
Cursive fonts work especially well here since the glitter catches light differently along the curves than it does on straight block letters.
Fair warning: glitter vinyl weeds slower than regular HTV.
Set aside more time than you think you need, especially for cursive with lots of small connecting strokes.
13. Thrifted flannel-lined bleach sweatshirt
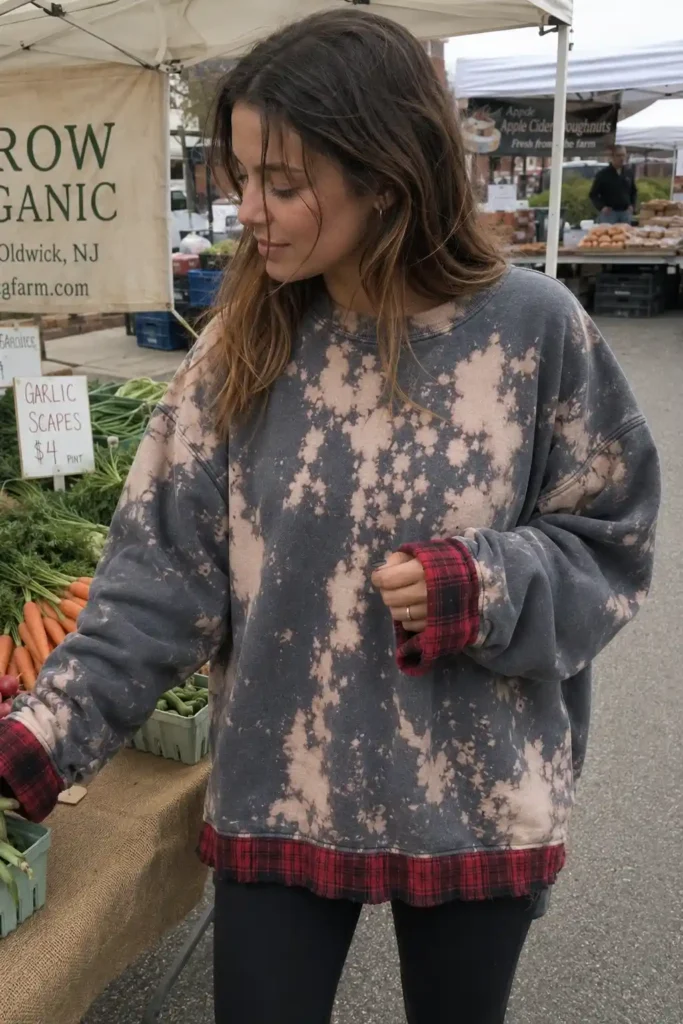
Find an oversized sweatshirt at a thrift store, unpick the cuffs and hem, and sew in flannel fabric trim for a cozy, layered look before adding your bleach design on top.
This is the priciest-looking project on the list and also one of the cheapest to actually make.
Wow, the difference flannel trim makes is honestly kind of wild for something that costs maybe eight dollars in fabric scraps.
14. Comic-style “senior” thought bubble applique
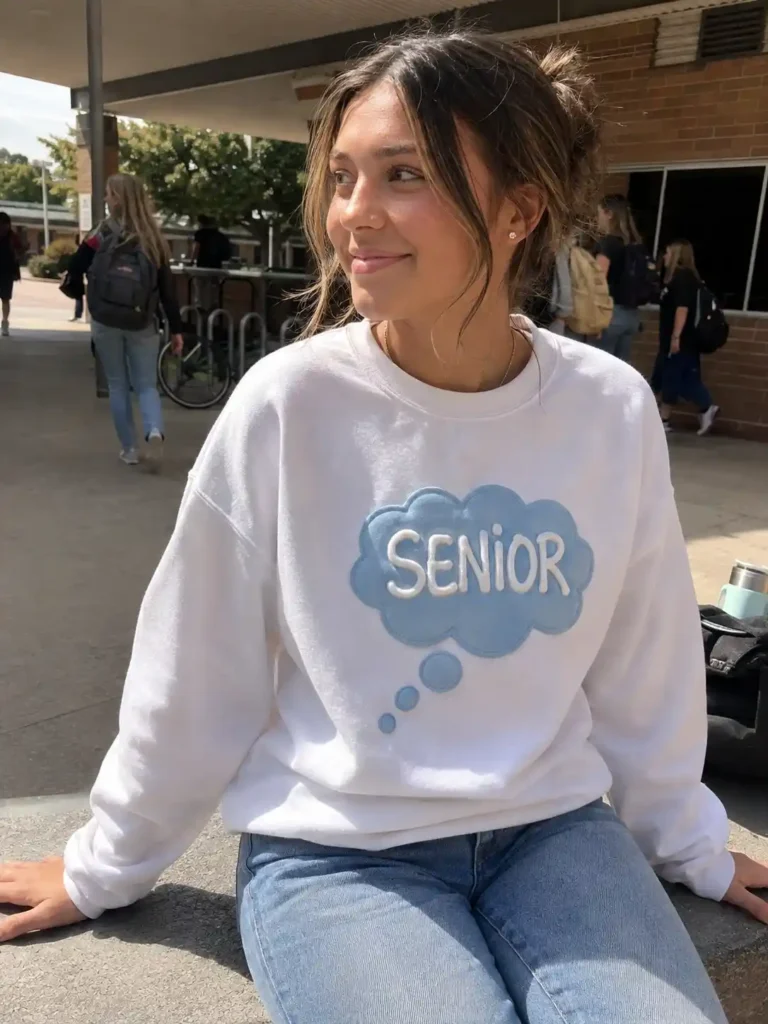
Cut a thought bubble or speech bubble shape from a contrasting fabric, sew or fuse it onto the sweatshirt, then add “SENIOR” or your grad year inside using puff paint or embroidery.
It’s playful, a little retro, and stands out against the sea of plain script fonts you’ll see everywhere else.
Honestly, this is the one I’d pick if I wanted something that didn’t look like everyone else’s.
15. Countdown grid sweatshirt
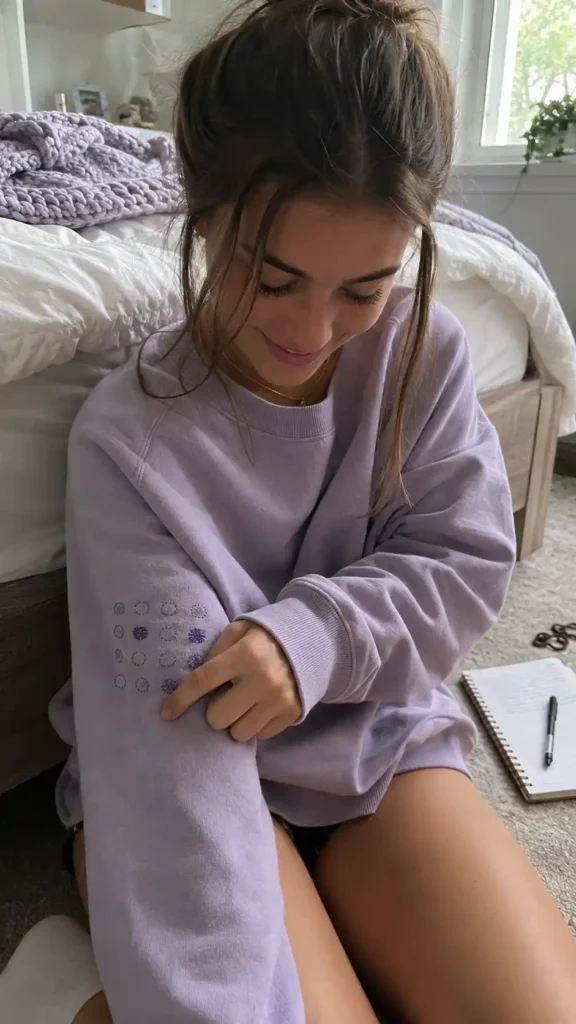
Stitch or paint a small grid of dots, one for every remaining day of the school year, and cross one off (or fill one in) as the year goes on.
It sounds like a lot of work, but most people do a simplified version, maybe 10 or 20 dots representing months or major events instead of individual days.
This is more of a slow-build project than a weekend one. Ever made something that changes over months instead of finishing in an afternoon? It hits differently.
A quick side note, since I know this is a Pinterest crowd: half the appeal of these projects is the photo at the end, not just the sweatshirt itself.
Lay it flat on a wood floor or hang it on a wall hook before you snap a picture.
Wrinkled, worn-on-the-body photos just don’t pin as well, and that’s coming from someone who learned the hard way after a dozen blurry, badly-lit attempts.
The Complete Guide To Senior Year Sweatshirts Styles Designs And Buying Tips
Discover More →Frequently asked questions
Do I need a Cricut or vinyl cutter to make a senior sweatshirt? No.
Bleach, tie-dye, fabric paint, and embroidery all work with tools you can buy at any craft store, no machine required. A cutter just speeds up projects that involve precise lettering.
How do I keep bleach designs from ruining the whole sweatshirt?
Work slowly, test on a hidden area first, and stop the reaction early with a rinse or a diluted hydrogen peroxide spray once you like the color.
Sarah Maker’s <cite index=”11-1″>guide to bleach tie-dyeing a sweatshirt</cite> breaks down both the spray and dip methods if you want more detail before you start.
Will iron-on vinyl or paint survive the washing machine? Both hold up fine if you follow the instructions: wash inside-out on cold, skip the dryer’s high heat setting, and let designs cure for the full recommended time before the first wash.
Rushing that curing step is the number one reason people lose their design early.
So, which one are you making first? Save this list, pick your favorite, and if you make one, I’d genuinely love to see how it turns out. That’s kind of the whole point of a senior sweatshirt anyway: something you actually made, not something you bought.
